Where the valve usually is
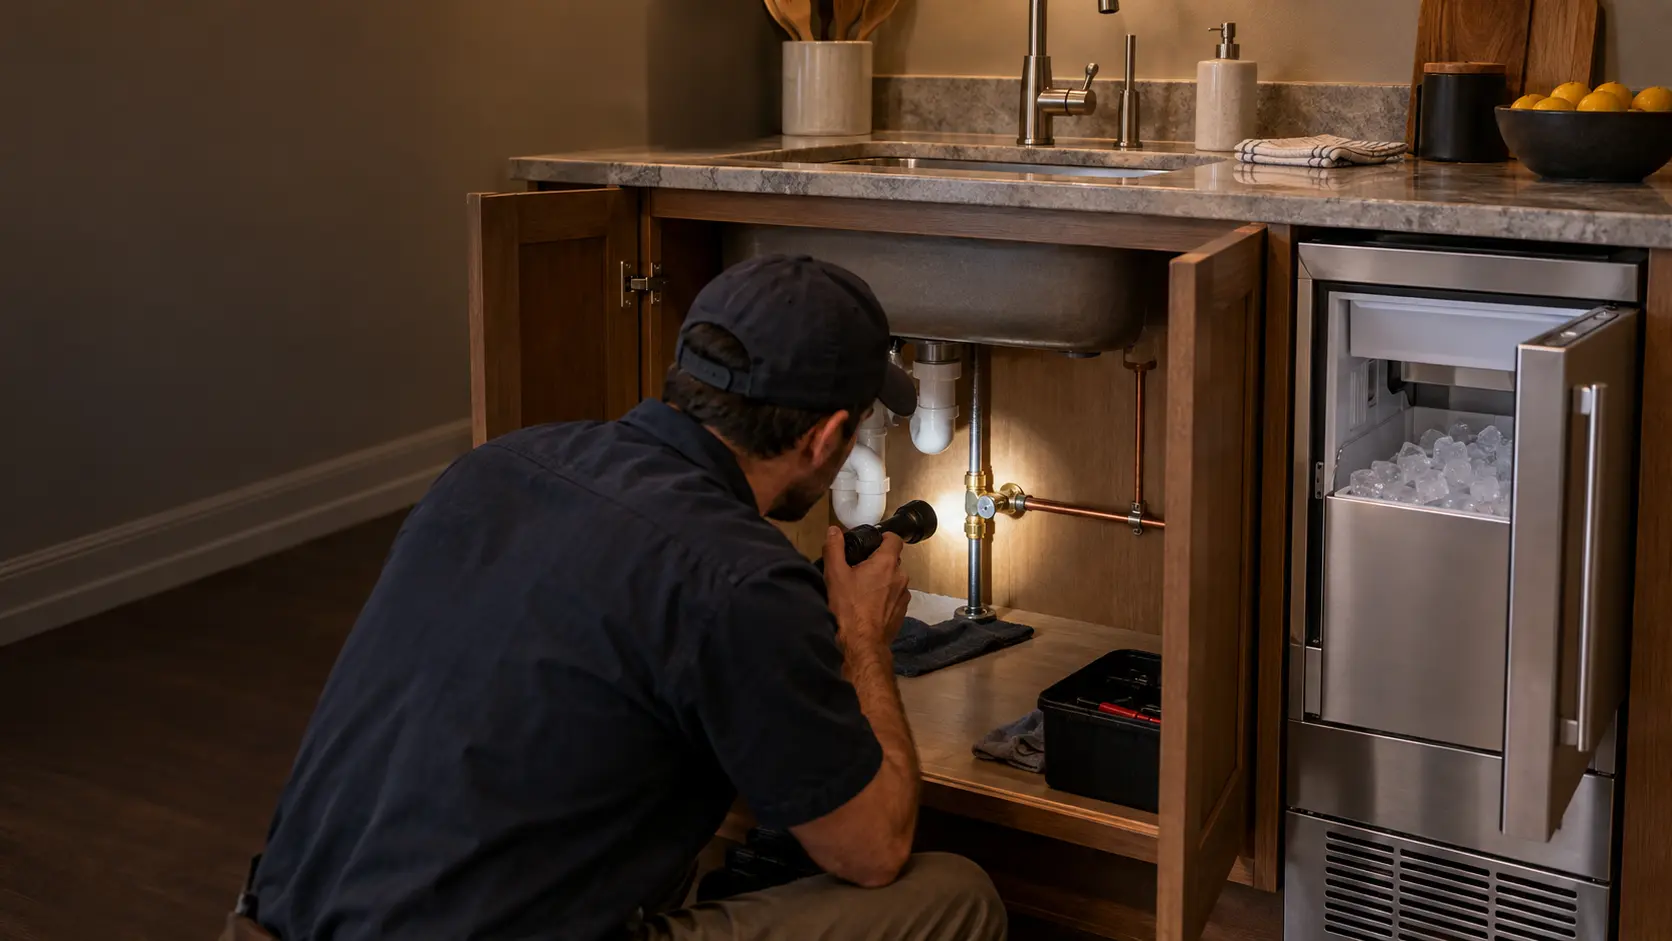
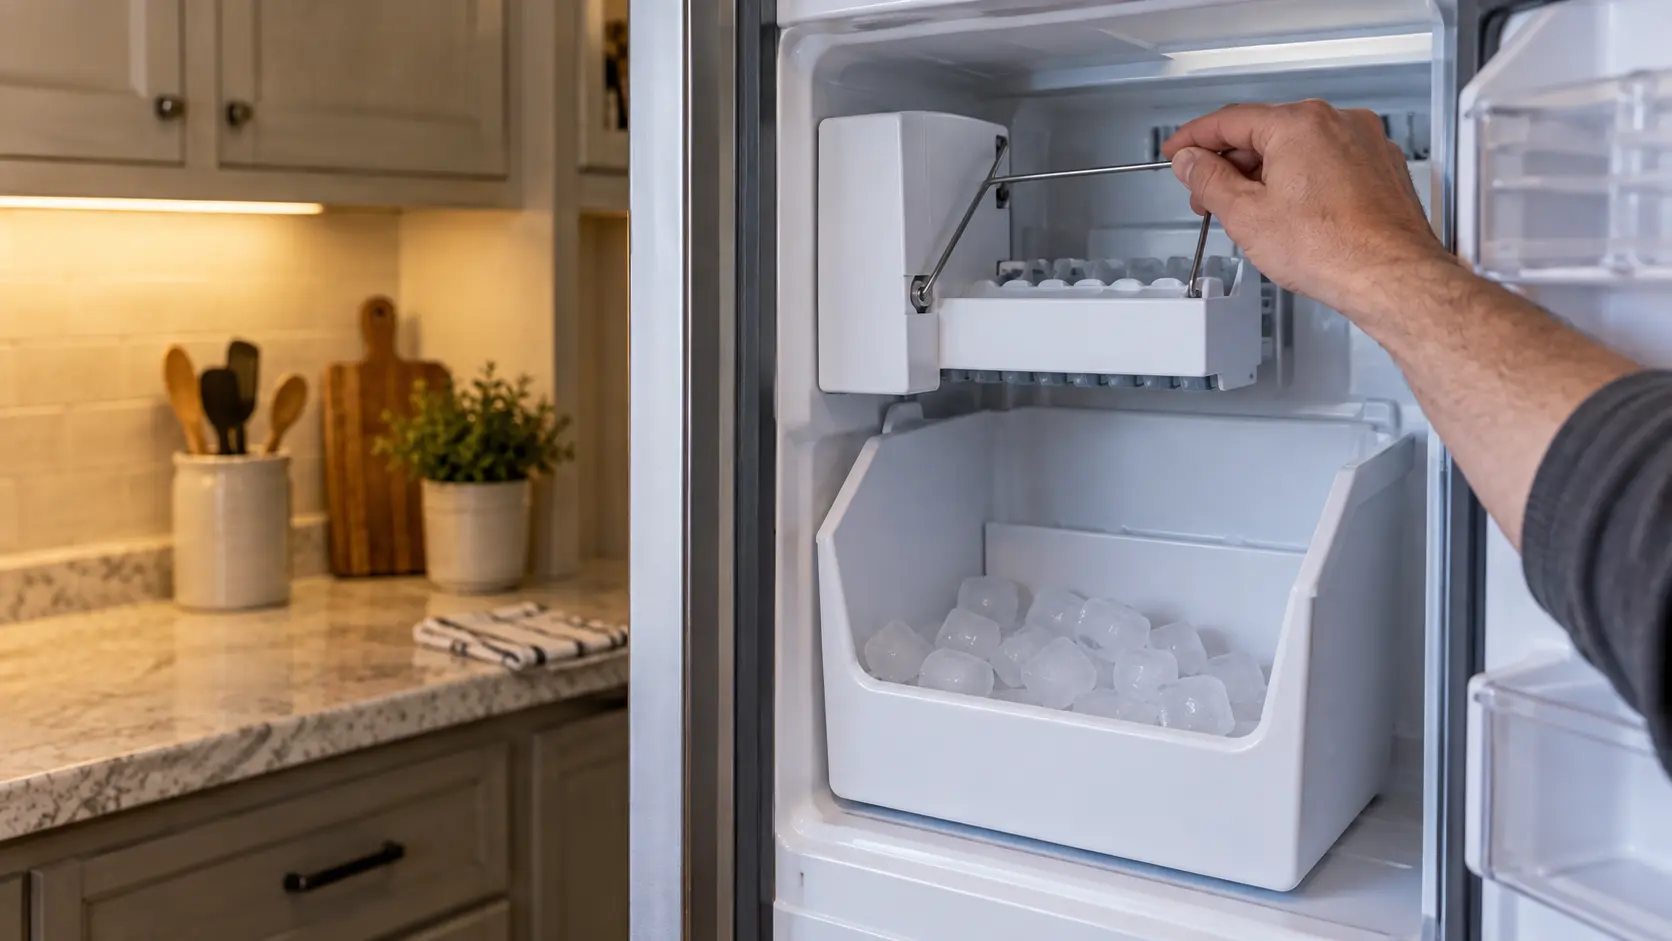
GE lists the usual places as behind the unit, under the sink, or in the basement or crawl space, and it notes that only one supply line runs to the unit's inlet valve. That single line is your guide: follow it back from the unit, and the first valve you reach on it is the one you want. Open the cabinet under the sink before moving anything heavy, since that is where most kitchen installers put it.
Under the kitchen sink
Look at the cold-water stop that feeds the faucet. An ice maker line is often teed off it with a second small valve, or runs from a separate stop beside it, and the thin copper or plastic tube heads off through the cabinet wall toward the unit. If there are two small tubes, the one that runs toward the unit rather than up to the faucet is the ice maker's.
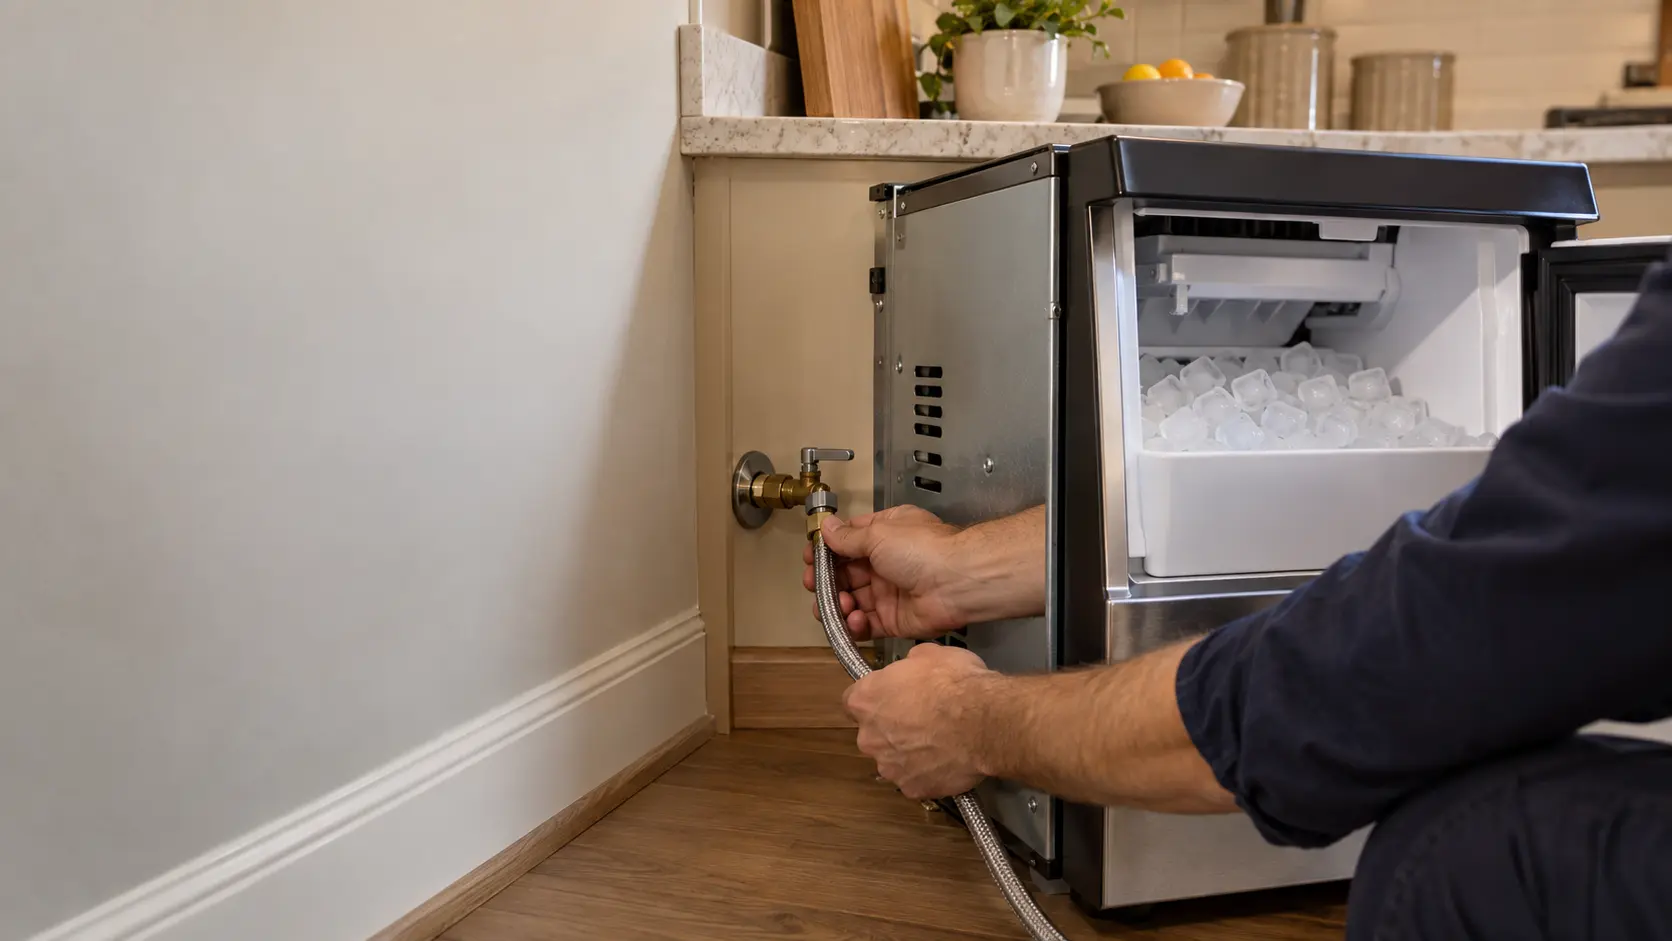
Behind or beside the unit
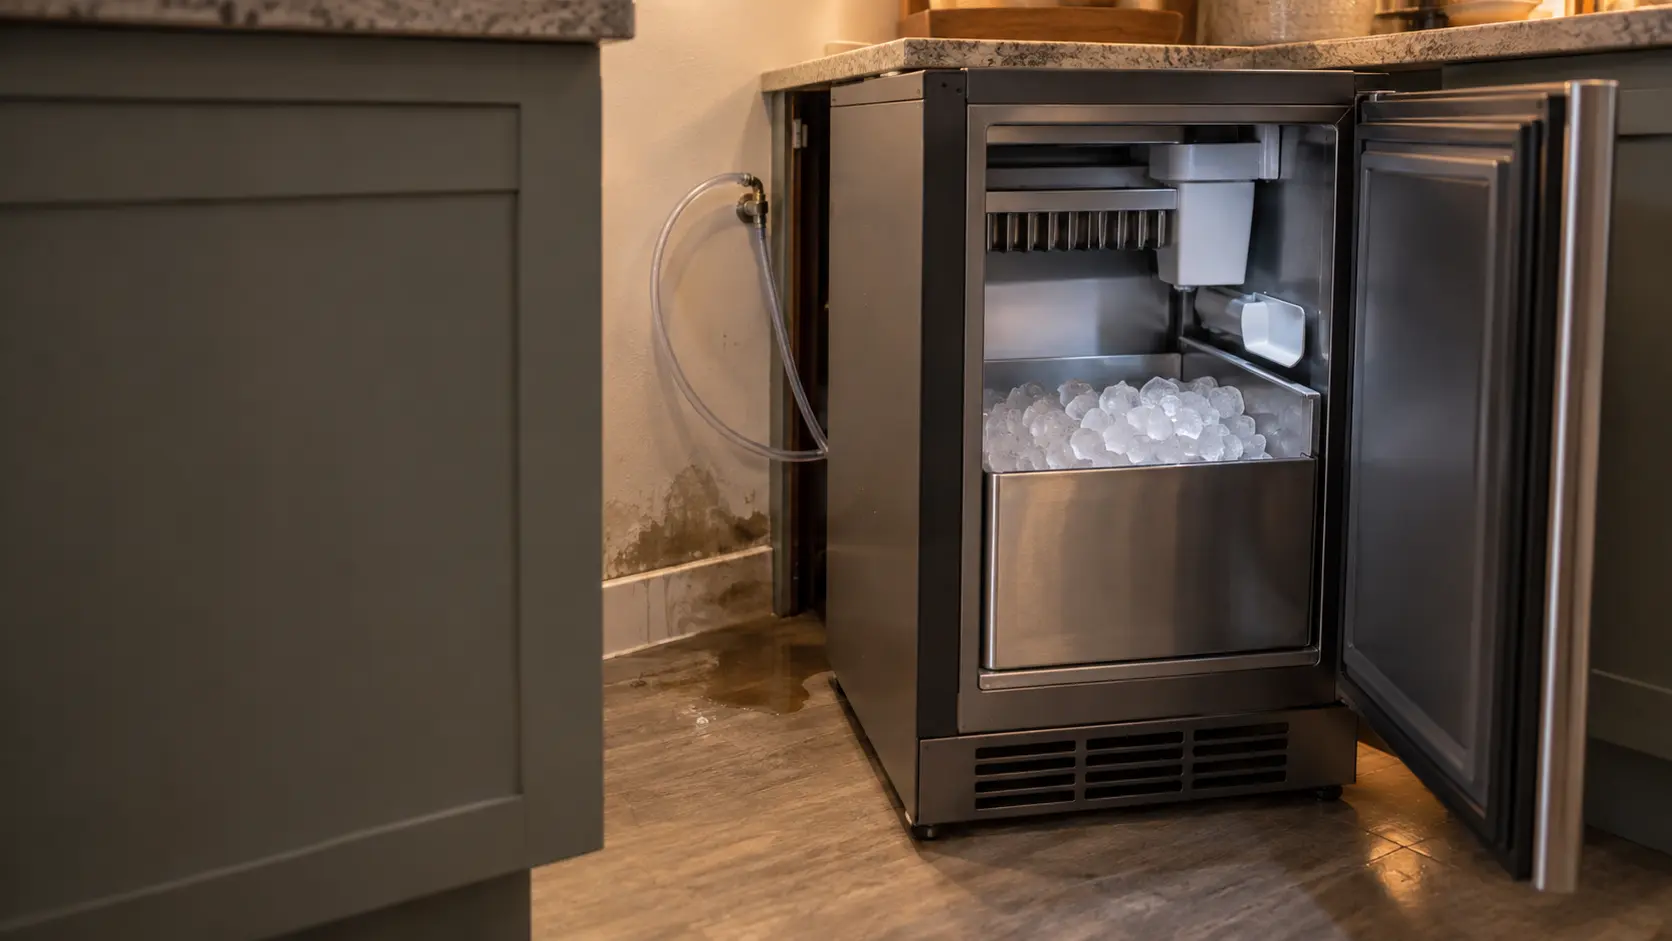
Many installations put a small valve in a recessed box in the wall behind the unit, which means sliding a freestanding model out to reach it. For built-ins and panel-ready units, Sub-Zero says the plumber-supplied valve is usually about 6 inches from the compression fitting and may sit behind the kickplate, as long as it stays accessible. Undercounter ice makers often have it in the next cabinet over.
Below the floor
Where the kitchen sits over a basement or crawl space, the line often drops through the floor near the back wall and joins a cold pipe below. Look directly under the unit's position for a thin tube running along a joist. Label the valve with a tag once you find it, so the next person does not have to search.
Source: GE Appliances — Icemaker does not fill with water — The shut-off valve is usually behind the unit, under the sink, or in the basement or crawl space; only one supply line goes to the water valve
Which kind of valve you have
The type decides how to close it and how much you can trust it. Look at the handle and at how the valve is attached to the pipe before you turn anything.
- Quarter-turn valve with a lever handle: open when the lever lines up with the pipe, closed when it sits across it.
- Multi-turn stop with a round or oval handle: clockwise closes it, and it takes several full turns in either direction.
- Saddle valve clamped around the outside of a copper pipe with a small T-handle: it pierces the pipe, and GE, Whirlpool and Sub-Zero all advise against it because the opening is too small.
- No valve at all on the line: have one added; Sub-Zero calls for an easily accessible shut-off on every connection.
Source: Sub-Zero — Water line saddle valve — Do not use self-piercing valves; the shut-off is usually about 6 inches from the compression fitting and may sit behind the kickplate if accessible; the supply needs an easily accessible shut-off; GE Appliances — Self-tapping water valve — Saddle valves are not recommended because the opening is too small; restricted flow gives small, slow and hollow cubes; Whirlpool — How to check the water supply line — Use a 1/4-inch valve that needs a drilled hole, not a piercing or 3/16-inch saddle valve; 1/4-inch O.D. copper or PEX; check for kinks and at the valve and back-of-unit connections

Checking that it is fully open and dry
Samsung and Whirlpool both start low-flow troubleshooting by making sure this valve is fully open. A water supply valve that was closed for other plumbing work and reopened only a turn or two passes enough water for the dispenser to seem fine and not enough for the ice maker's short timed fill. Open a quarter-turn valve until the lever is in line with the pipe; open a multi-turn valve counterclockwise until it stops, then back it off a quarter turn so it does not stick.
Then check both ends with a dry paper towel. Whirlpool asks owners to check the connection at the supply valve and where the tubing joins the back of the unit, and to make sure the line has no kinks, which often appear after a unit is pushed back too far. A towel that comes away damp, green or white crust on a fitting, or a tube pressed flat against the wall are all reasons to call a technician rather than tighten things harder.
Source: Whirlpool — How to check the water supply line — Use a 1/4-inch valve that needs a drilled hole, not a piercing or 3/16-inch saddle valve; 1/4-inch O.D. copper or PEX; check for kinks and at the valve and back-of-unit connections; Whirlpool — Ensuring correct water pressure — Ensure the water shutoff valve is fully open; check for kinks after the unit was moved; Samsung — Ice maker is not working — Make sure the home's water supply valve is fully open
Closing it fast when water is on the floor
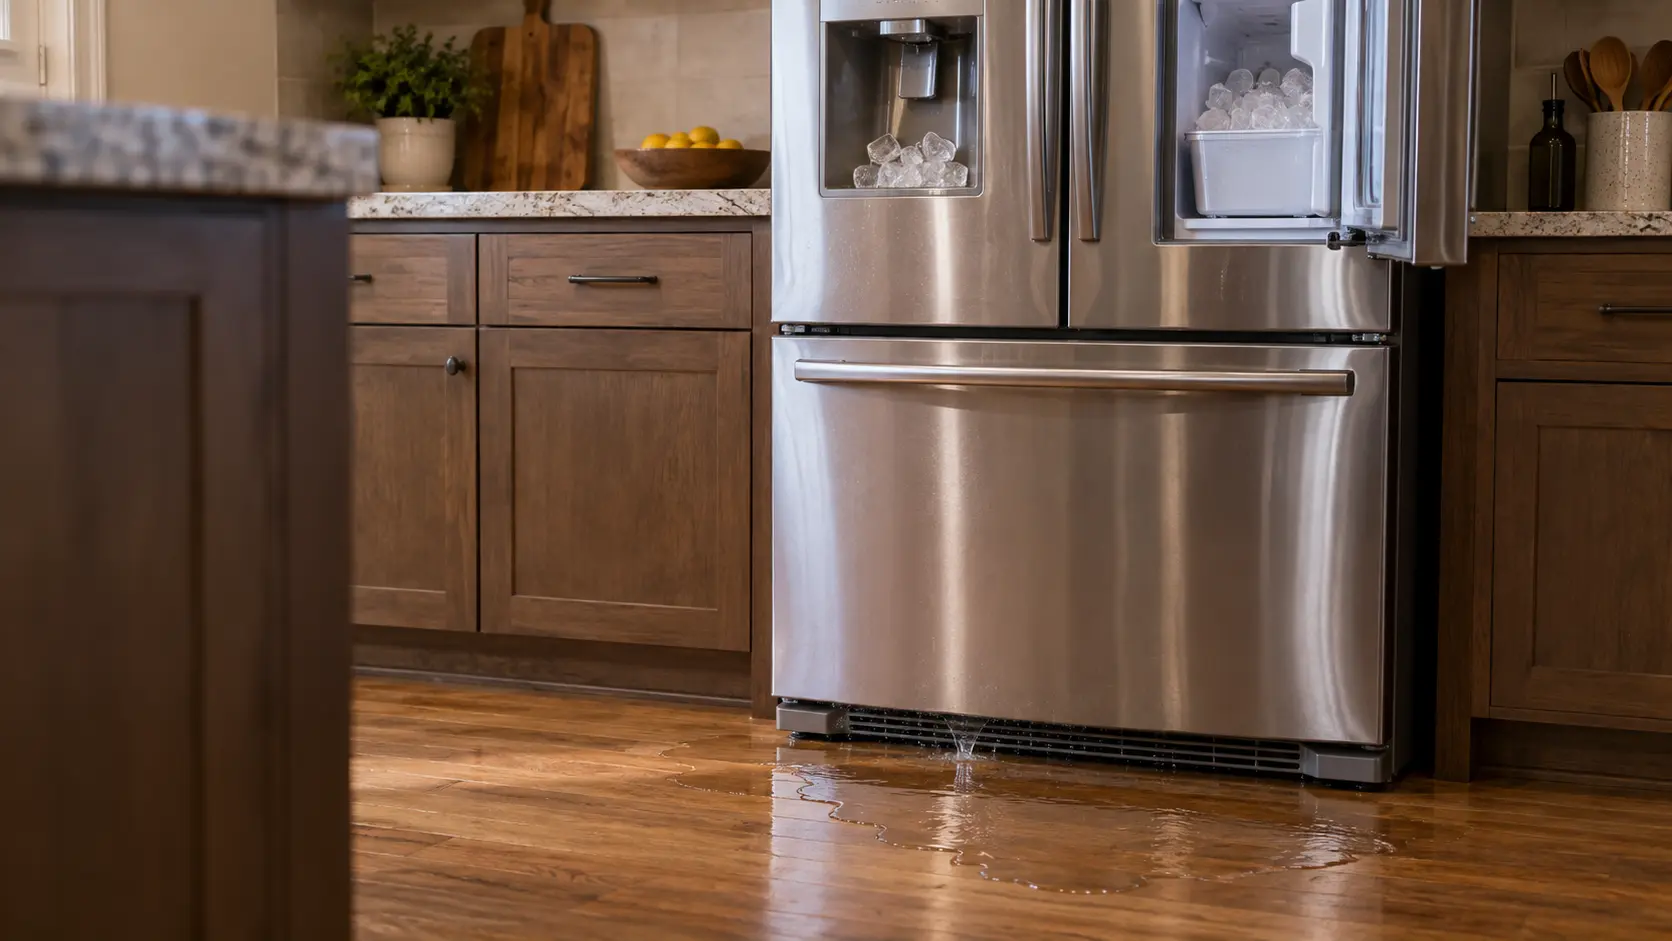
In a leak, the order matters. Turn the valve off first; that stops the water in seconds, and everything else can then wait. Do not reach behind a wet unit or into a flooded sink cabinet toward an outlet or power strip to unplug anything. If power needs to be cut, do it at the breaker, and only when the panel is dry and away from the water.
If the valve will not turn, or the leak is on the house side of it, close the main shut-off for the house, usually where the water line enters the building or near the water heater. Once the water has stopped, dry what you can and leave the line off until it has been repaired.
- Valve closed: clockwise on a round handle, lever across the pipe on a quarter-turn.
- Hands and feet out of the water around any plug, power strip or floor outlet.
- Breaker switched off only from a dry spot, if the unit or an outlet is wet.
- House main closed if the small valve will not move or the leak is on the pipe side of it.
Old valves that stick, drip or snap
A multi-turn stop that has sat open for a decade often seizes with mineral buildup. Forcing it with pliers can snap the stem or loosen the packing nut behind the handle, which then drips. If a valve will not move with firm hand pressure, leave it open and have it replaced rather than fighting it on the day you need it.
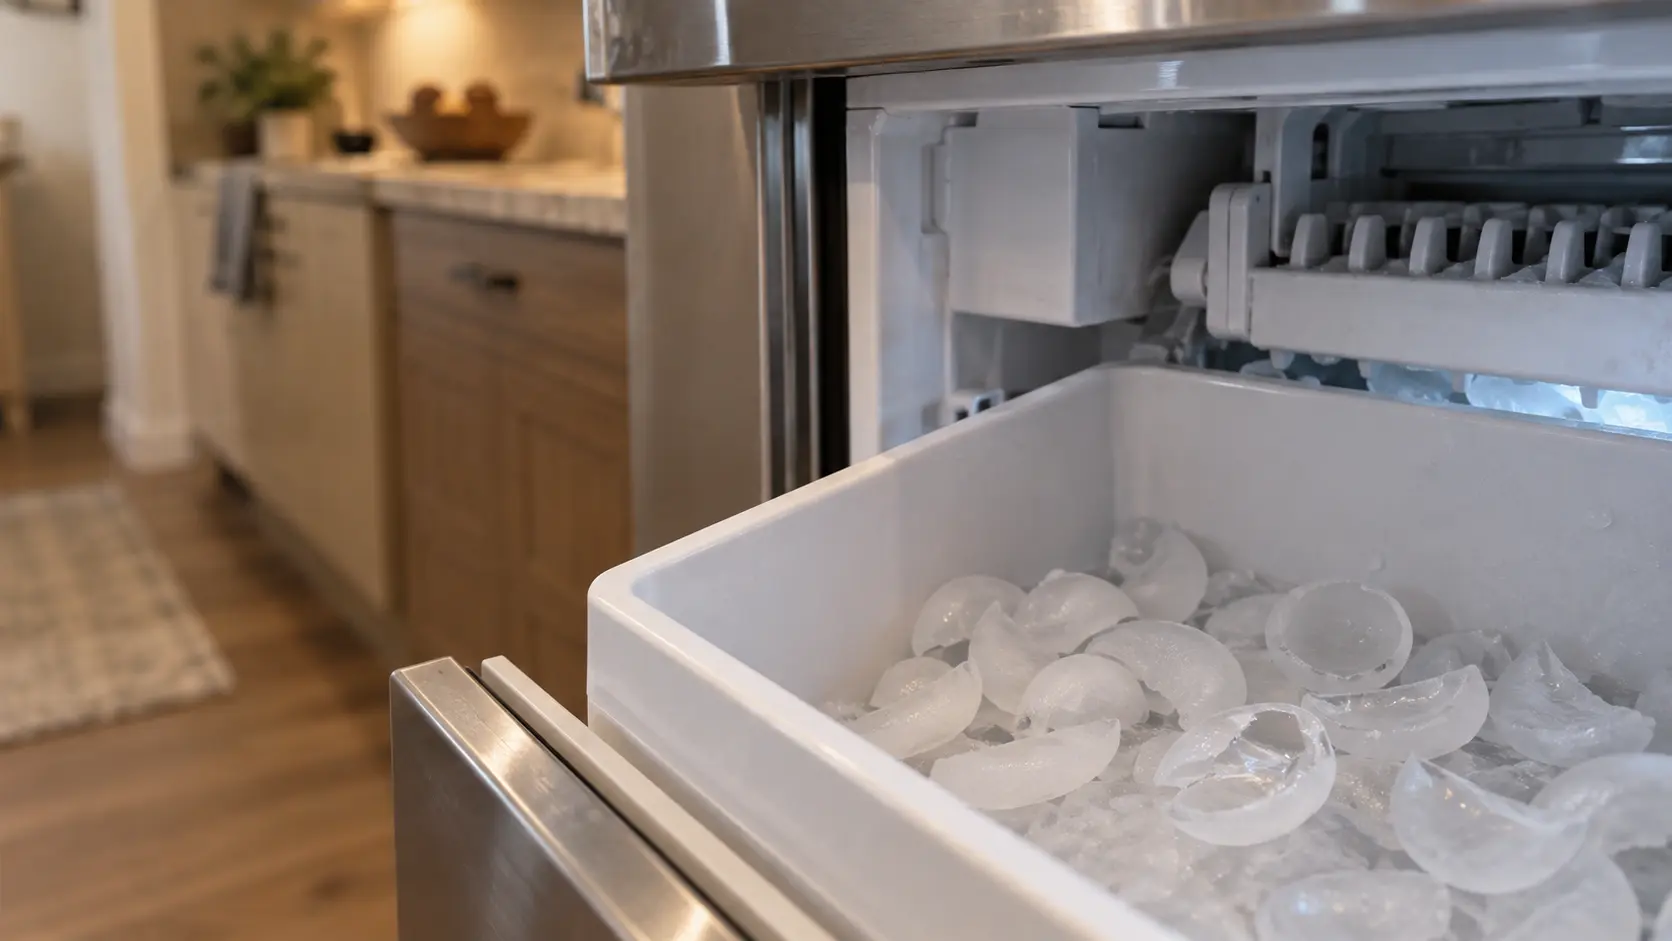
Saddle valves age worse than any other kind. The rubber seal under the clamp hardens and the pierced pipe corrodes around the hole, and GE notes that the restricted flow they give is linked to small, slow and hollow ice. Whirlpool's recommended alternative is a 1/4-inch valve fitted into a drilled hole, and replacing one is a small job for a plumber that often improves the ice as well.
Source: GE Appliances — Self-tapping water valve — Saddle valves are not recommended because the opening is too small; restricted flow gives small, slow and hollow cubes; Whirlpool — How to check the water supply line — Use a 1/4-inch valve that needs a drilled hole, not a piercing or 3/16-inch saddle valve; 1/4-inch O.D. copper or PEX; check for kinks and at the valve and back-of-unit connections