What the line is and what it can be made of
The water line for an ice maker runs from a cold drinking-water pipe to the water inlet valve on the back of the appliance, and sometimes through an in-line filter on the way. It is small, a quarter inch across on door and freezer ice makers, and it never gets a rest: GE's installation instructions point out that the line is under pressure at all times. That constant pressure is why the material matters more here than on a faucet supply that sits behind a closed valve most of the day.
Three materials turn up behind kitchens and home bars, and each ages differently.
Soft copper tubing
The traditional choice, joined with compression nuts and brass ferrules. It lasts decades if it is not kinked, but a sharp bend from pushing the unit back too hard can crack it, and GE asks for both ends to be cut square so the fitting seals.
Braided stainless connectors
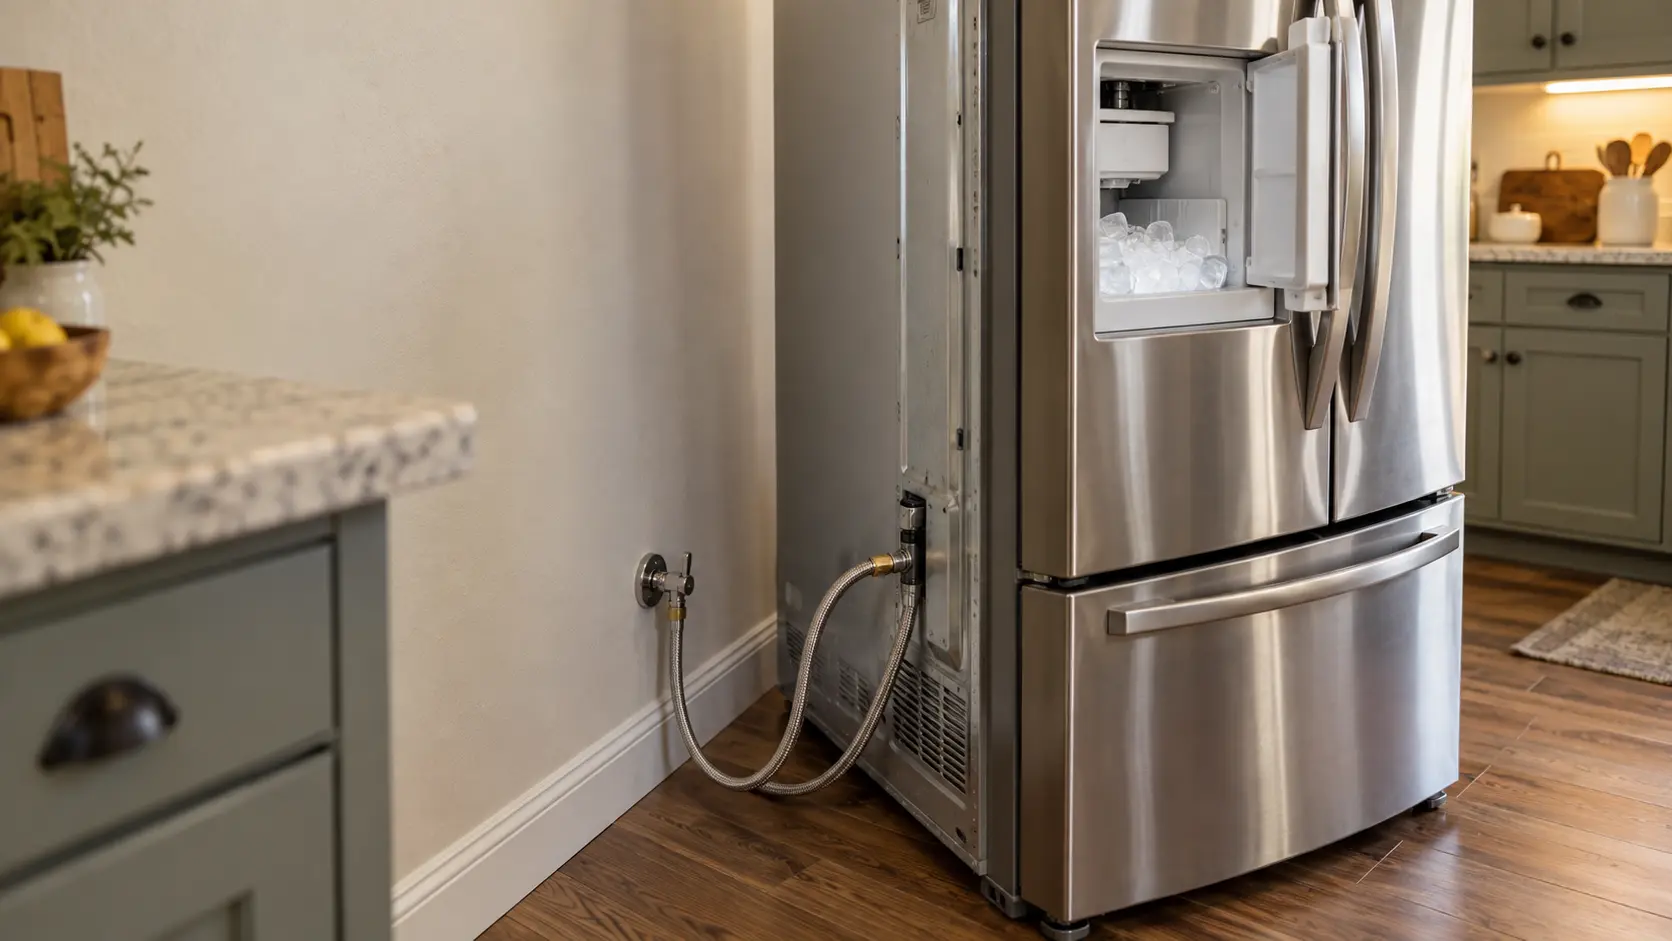
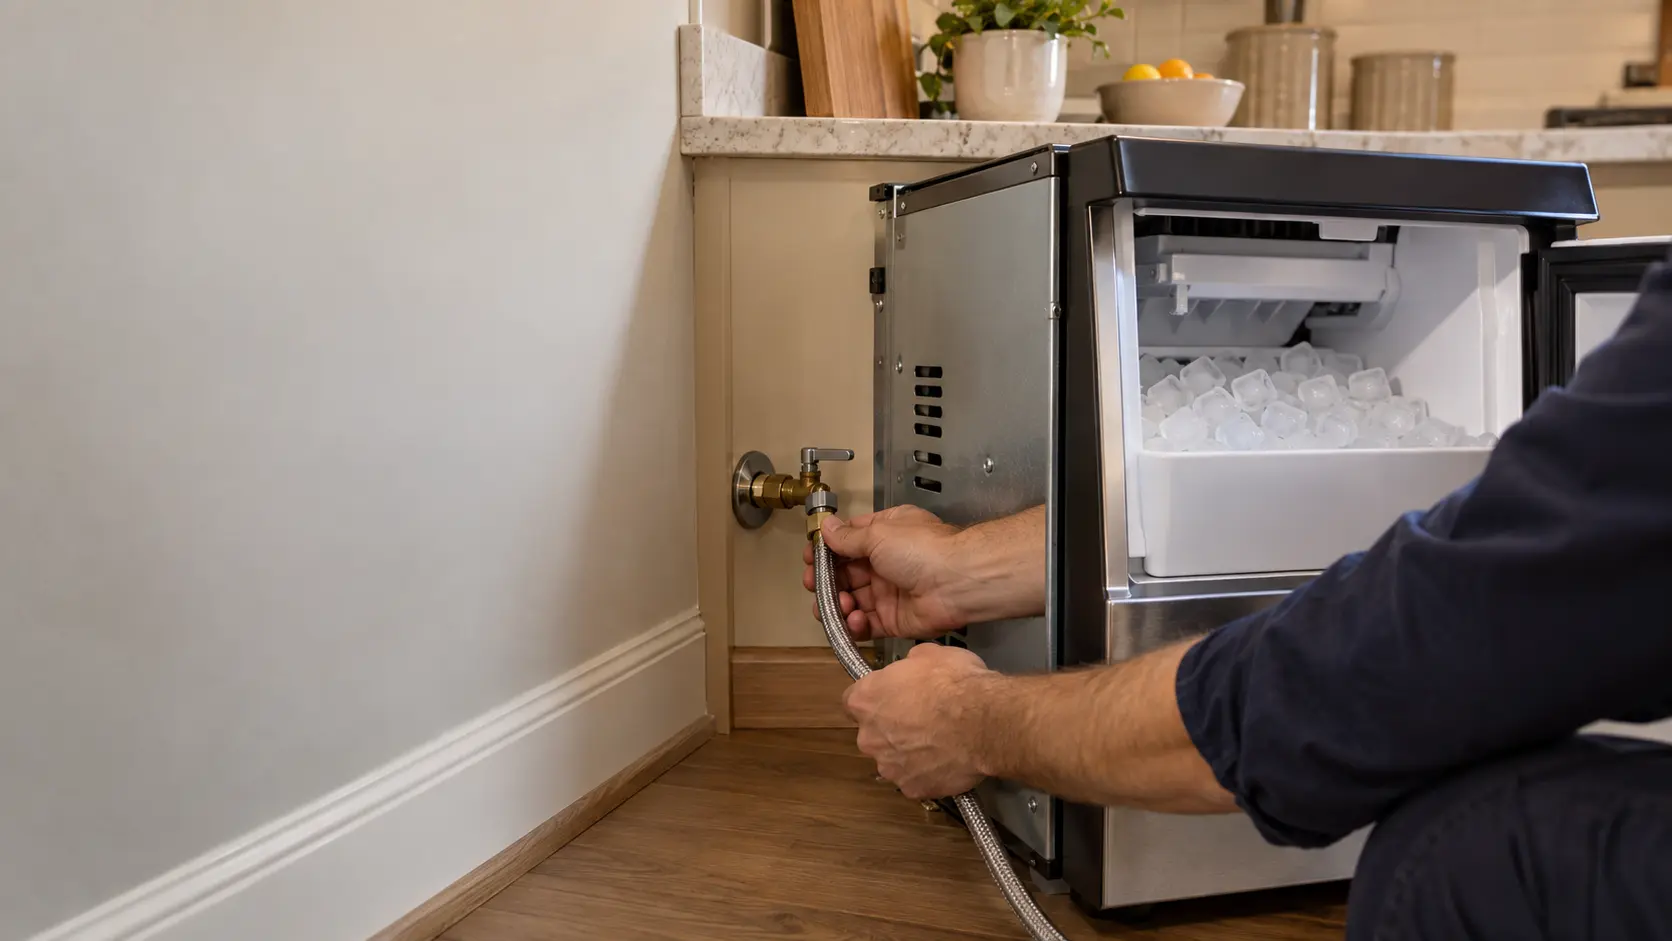
A flexible hose with a stainless mesh outside and fittings crimped on at both ends. U-Line supplies one with its nugget ice maker kit, and its guide says to use a new hose set rather than reuse an old one, and not to add tape or joint compound where the fitting has a rubber gasket.
Plastic tubing
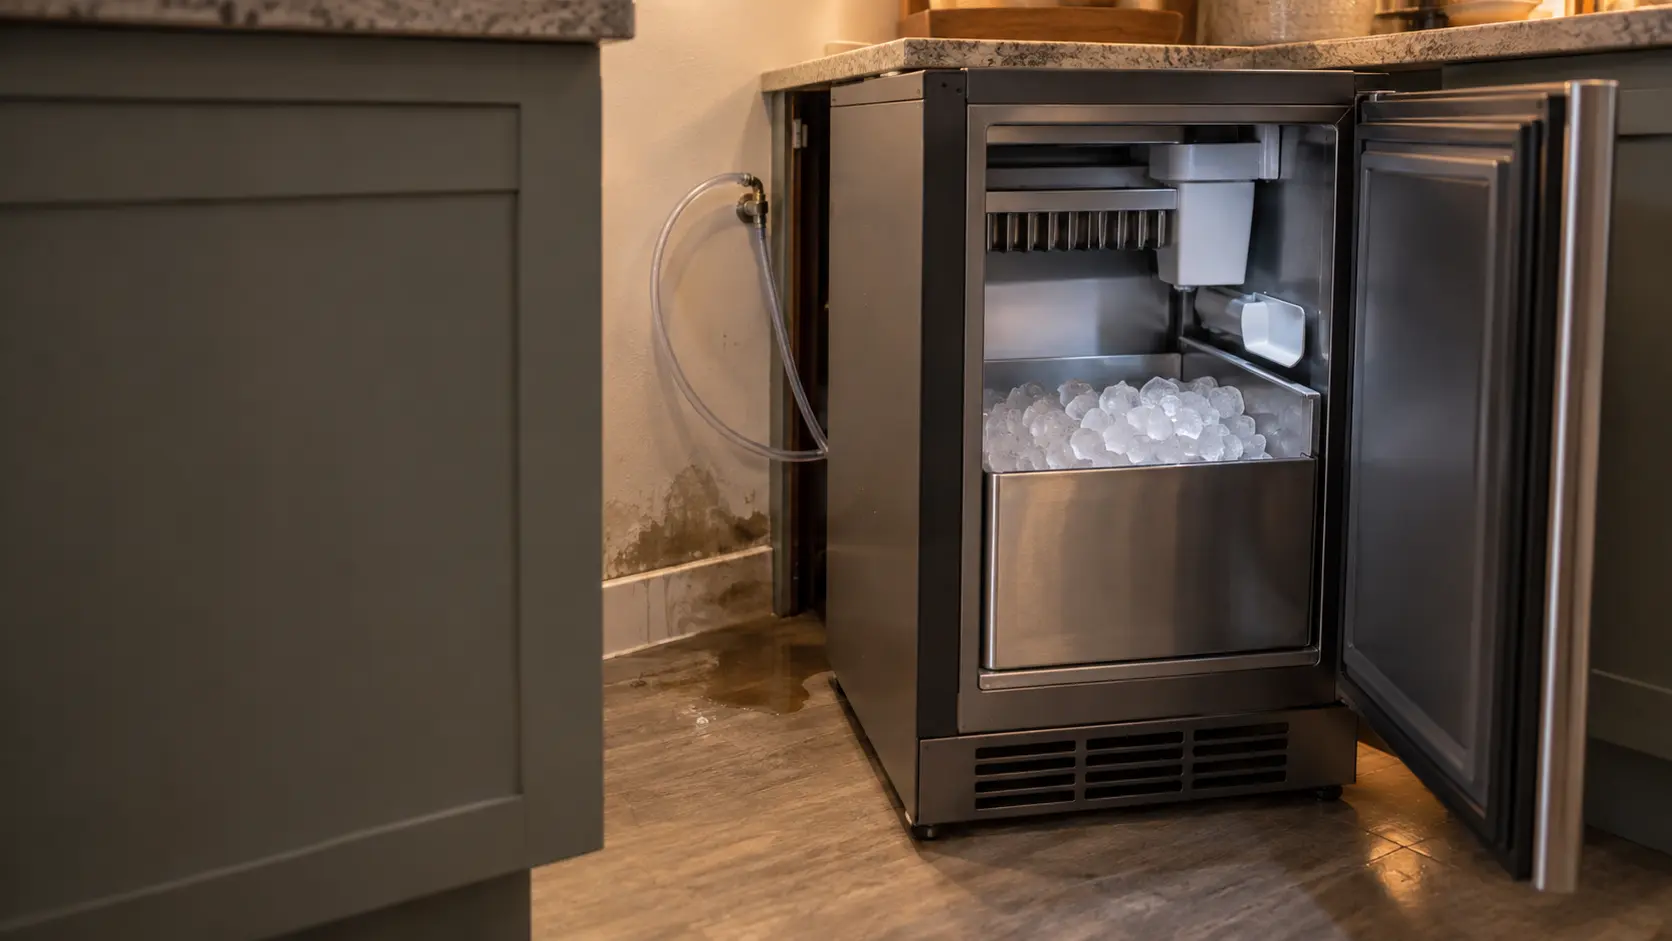
This is the one to look at twice. GE approves only the plastic tubing in its own kits and warns that other plastics can crack or rupture with age and flood a home, and U-Line tells owners not to use a plastic supply line at all. A cloudy, stiff or yellowed plastic line behind an older unit is a replacement waiting to happen.
Source: GE Appliances — Side by Side Owner's Manual and Installation Instructions (49-60198) — 1/4 inch OD copper or GE tubing, ends cut square; line under pressure at all times; only GE-approved plastic, others may crack or rupture; connect to the side of a vertical pipe or top or side of a horizontal one; drill a 1/4 inch hole even with a self-piercing valve or ice production drops; check saddle valves against local code, not permitted in Massachusetts; 40 to 120 psi with a filter, 20 to 120 without; low pressure means repeated cycles; RO supply uses the bypass plug; about 8 feet of slack in three 10 inch loops; no tubing where it freezes; never the hot line; water hammer can cause leaks; installation by a qualified technician; U-Line — User Guide and Service Manual, UHNB115 nugget ice maker — Braided flexible supply line; use a new hose set; no tape or compound on gasketed fittings; no plastic supply line; 20 to 120 psi; loop the line into two coils; water under 200 ppm TDS and 12 grains hardness, not from a softener
The shutoff valve and where it taps into the pipe
Every ice maker line needs a shutoff valve of its own, somewhere you can reach without moving the appliance: under the sink, in the cabinet next to an undercounter unit, or in the basement directly below. GE's instructions say to connect into the side of a vertical cold pipe when possible, or the top or side of a horizontal one, never the bottom, so the valve does not draw sediment from the pipe.
Where the valve taps in decides how much water reaches the ice maker. GE asks for a 1/4 inch hole drilled into the pipe even when the valve is the self-piercing kind, and says a smaller opening can mean reduced ice production or smaller cubes.
Saddle valves and local code
A saddle valve clamps around the outside of a pipe and taps it through a small hole. They come in many water supply kits, which makes them easy to buy and easy to assume are allowed. GE tells installers to check that a saddle valve is allowed by local plumbing code before buying one, and notes that Massachusetts does not permit them at all.
Source: GE Appliances — Side by Side Owner's Manual and Installation Instructions (49-60198) — 1/4 inch OD copper or GE tubing, ends cut square; line under pressure at all times; only GE-approved plastic, others may crack or rupture; connect to the side of a vertical pipe or top or side of a horizontal one; drill a 1/4 inch hole even with a self-piercing valve or ice production drops; check saddle valves against local code, not permitted in Massachusetts; 40 to 120 psi with a filter, 20 to 120 without; low pressure means repeated cycles; RO supply uses the bypass plug; about 8 feet of slack in three 10 inch loops; no tubing where it freezes; never the hot line; water hammer can cause leaks; installation by a qualified technician
Pressure and water quality the ice maker expects
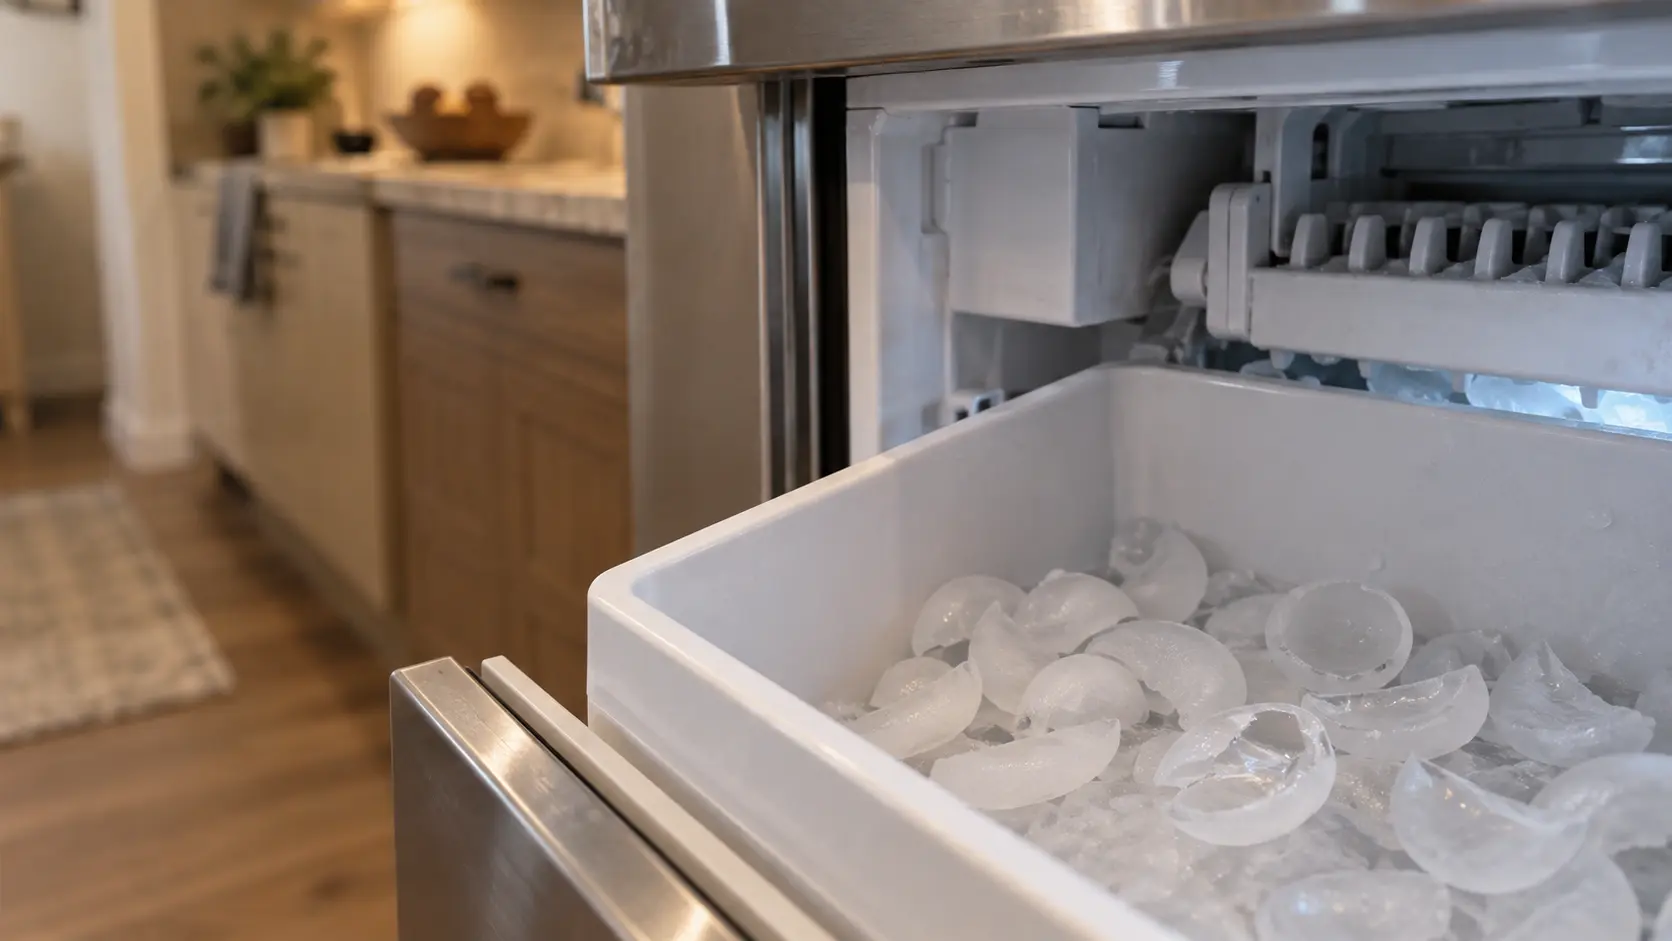
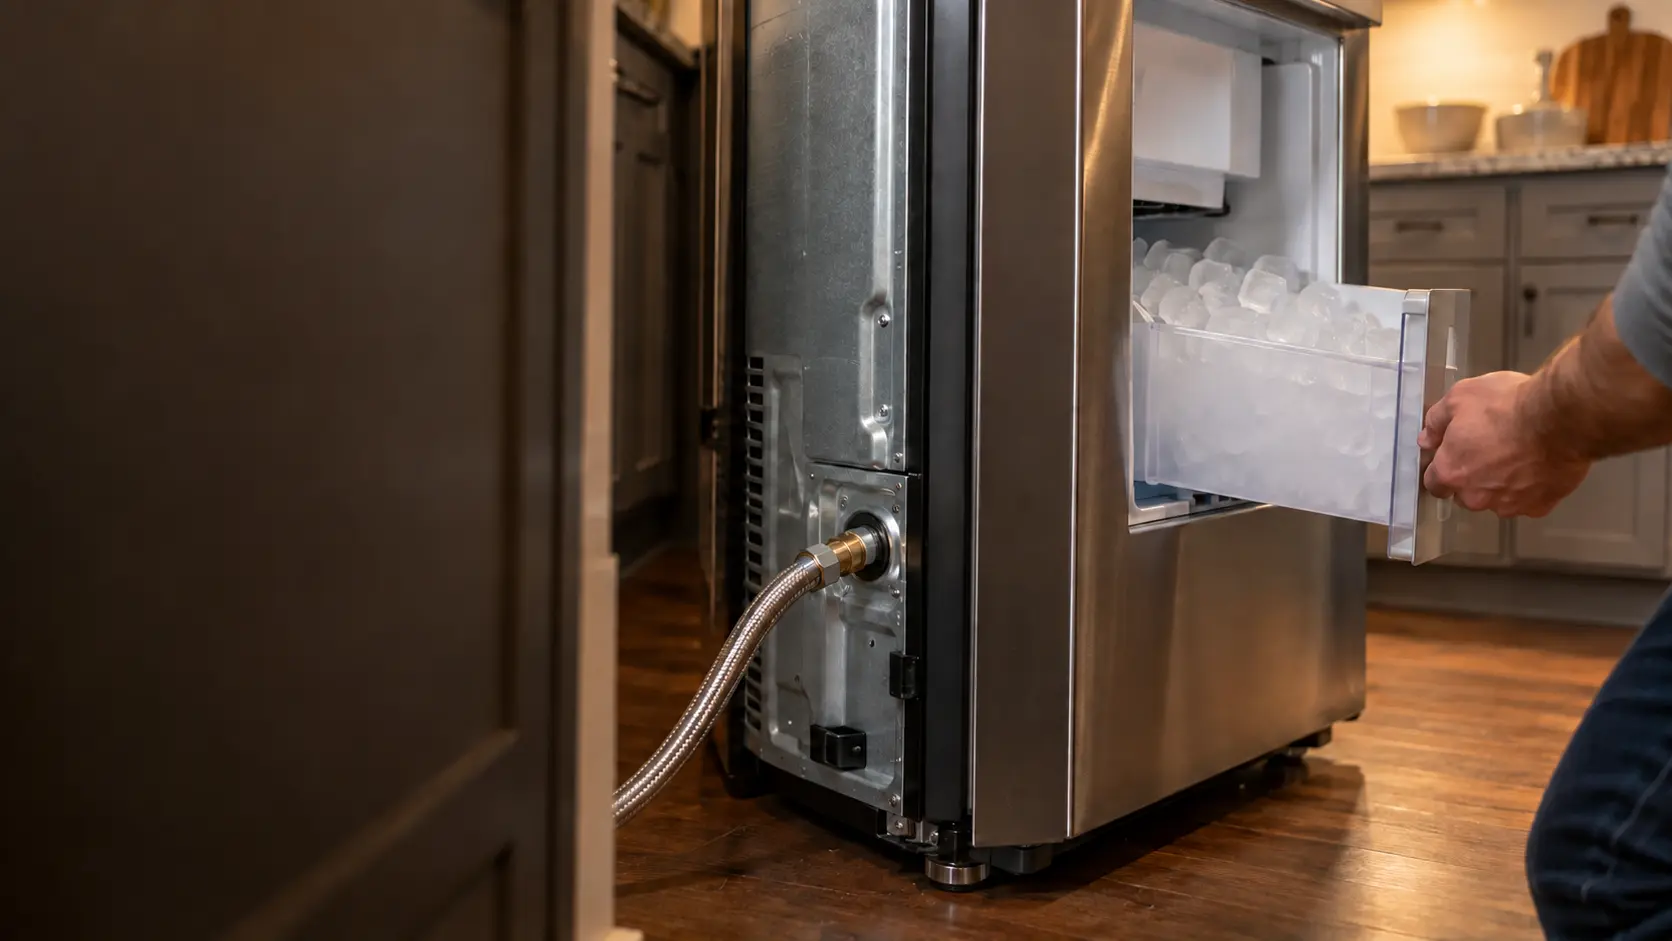
How much water reaches the mold on each fill depends on the pressure behind the inlet valve, and so does the size of every cube. GE gives 40 to 120 psi for its models with a water filter and 20 to 120 psi without one, and U-Line gives 20 to 120 psi for its undercounter nugget unit. Below that range, cubes come out small or hollow; GE notes that in homes with low pressure you may hear the ice maker cycle several times to make one batch.
Built-in clear-ice and nugget machines are also particular about minerals. U-Line's guide asks for water under 200 ppm of dissolved solids and 12 grains of hardness, never from a water softener, with an in-line filter above those figures.
Reverse osmosis systems
A line teed off an under-sink reverse osmosis system often has too little pressure for an ice maker. GE says that when the supply comes from RO and the unit also has its own filter, the built-in filter should be replaced by its bypass plug, because the two together can cause hollow cubes and slow dispensing.
Source: GE Appliances — Side by Side Owner's Manual and Installation Instructions (49-60198) — 1/4 inch OD copper or GE tubing, ends cut square; line under pressure at all times; only GE-approved plastic, others may crack or rupture; connect to the side of a vertical pipe or top or side of a horizontal one; drill a 1/4 inch hole even with a self-piercing valve or ice production drops; check saddle valves against local code, not permitted in Massachusetts; 40 to 120 psi with a filter, 20 to 120 without; low pressure means repeated cycles; RO supply uses the bypass plug; about 8 feet of slack in three 10 inch loops; no tubing where it freezes; never the hot line; water hammer can cause leaks; installation by a qualified technician; U-Line — User Guide and Service Manual, UHNB115 nugget ice maker — Braided flexible supply line; use a new hose set; no tape or compound on gasketed fittings; no plastic supply line; 20 to 120 psi; loop the line into two coils; water under 200 ppm TDS and 12 grains hardness, not from a softener
Routing the line: slack, heat and cold
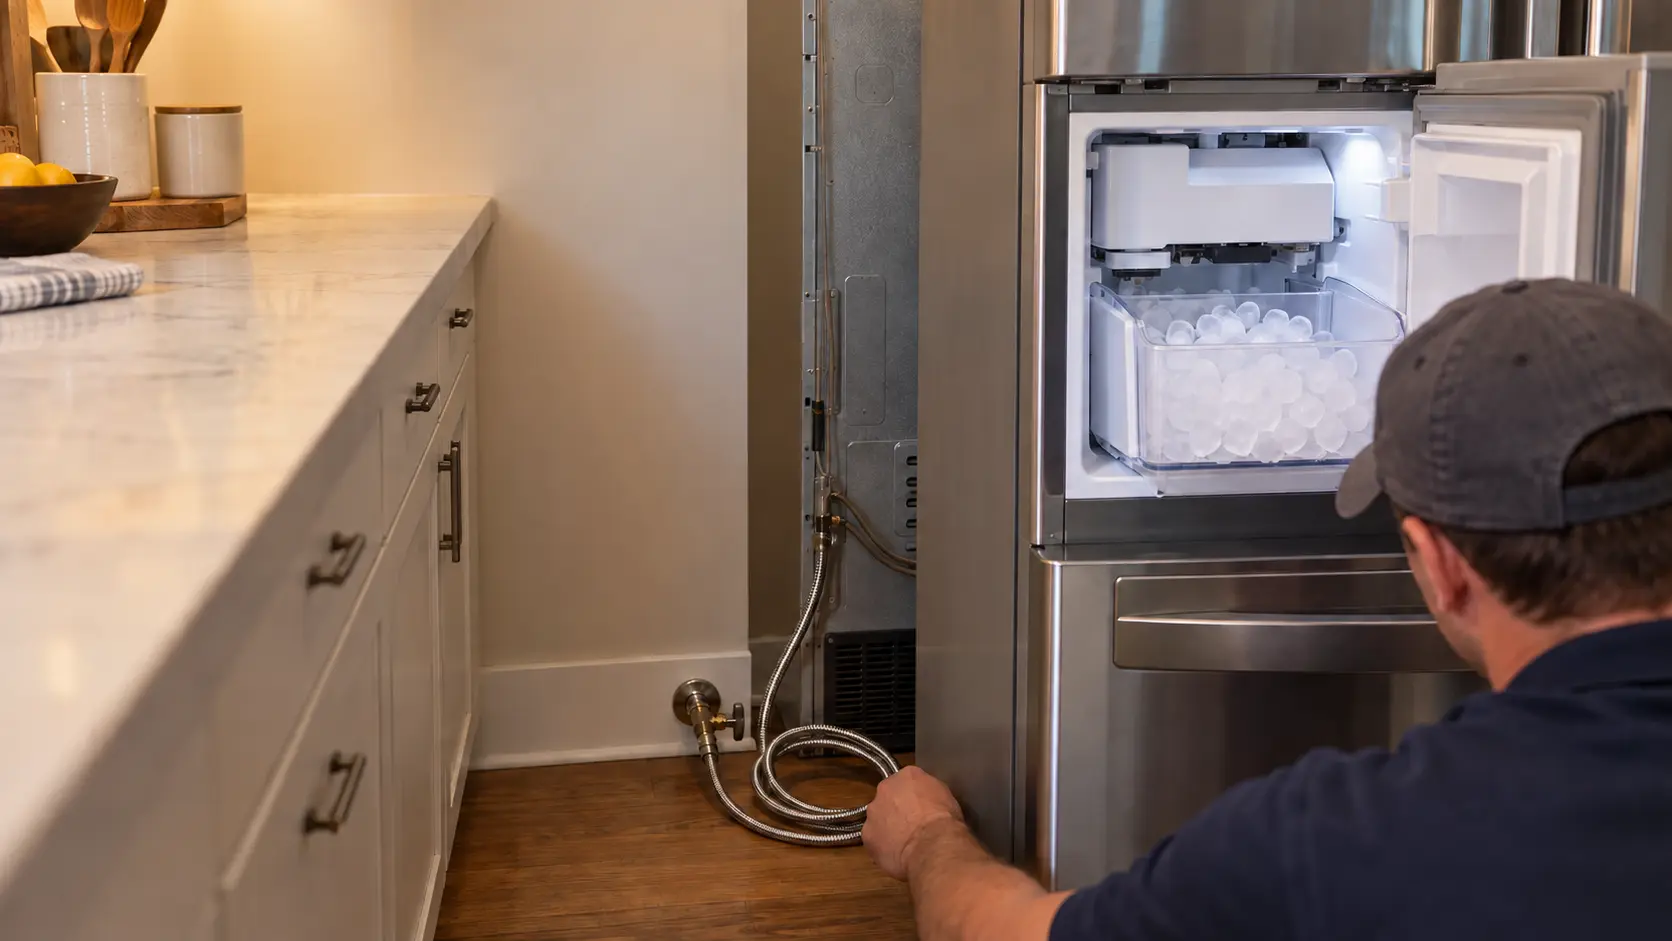
The line has to let the appliance move. GE asks for about 8 feet of extra tubing coiled into three loops about 10 inches across behind the unit, and U-Line asks for two coils, so the unit can be pulled out for cleaning without straining the fittings. Too little slack is the usual reason a line cracks the day someone slides the unit out to mop behind it.
Route it where it cannot freeze or cook. GE says not to run ice maker tubing anywhere temperatures fall below freezing, which rules out an uninsulated outside wall in a cold climate, an unheated crawlspace and a garage in winter.
- Coiled slack behind the unit, not a straight taut run.
- No kinks where it passes through the floor or the cabinet back.
- Clear of the compressor and condenser, which run warm.
- Away from exterior walls and unheated spaces that drop below freezing.
- The shutoff valve reachable with the appliance in place.
Source: GE Appliances — Side by Side Owner's Manual and Installation Instructions (49-60198) — 1/4 inch OD copper or GE tubing, ends cut square; line under pressure at all times; only GE-approved plastic, others may crack or rupture; connect to the side of a vertical pipe or top or side of a horizontal one; drill a 1/4 inch hole even with a self-piercing valve or ice production drops; check saddle valves against local code, not permitted in Massachusetts; 40 to 120 psi with a filter, 20 to 120 without; low pressure means repeated cycles; RO supply uses the bypass plug; about 8 feet of slack in three 10 inch loops; no tubing where it freezes; never the hot line; water hammer can cause leaks; installation by a qualified technician; U-Line — User Guide and Service Manual, UHNB115 nugget ice maker — Braided flexible supply line; use a new hose set; no tape or compound on gasketed fittings; no plastic supply line; 20 to 120 psi; loop the line into two coils; water under 200 ppm TDS and 12 grains hardness, not from a softener
Checking a line you inherited
Most people never see the line installed; it came with the house or the previous appliance. A five-minute look, with the unit pulled a short way out and a flashlight, tells you most of what you need. Look at the material, the fittings at both ends and the floor under the valve.
Water hammer, a bang in the pipes when a valve snaps shut, is worth mentioning too. GE warns that it can damage appliance parts and lead to leaks, and asks for a plumber to cure it before a line is connected.
- Plastic tubing that is cloudy, yellowed or brittle to the touch.
- Green or white crust on a compression nut: a slow weep.
- A saddle valve with rust or mineral streaks below it.
- A stain or soft spot in the floor or cabinet under the valve.
- No slack at all behind the unit.
Source: GE Appliances — Side by Side Owner's Manual and Installation Instructions (49-60198) — 1/4 inch OD copper or GE tubing, ends cut square; line under pressure at all times; only GE-approved plastic, others may crack or rupture; connect to the side of a vertical pipe or top or side of a horizontal one; drill a 1/4 inch hole even with a self-piercing valve or ice production drops; check saddle valves against local code, not permitted in Massachusetts; 40 to 120 psi with a filter, 20 to 120 without; low pressure means repeated cycles; RO supply uses the bypass plug; about 8 feet of slack in three 10 inch loops; no tubing where it freezes; never the hot line; water hammer can cause leaks; installation by a qualified technician