
Water lines, first ice and a unit left alone
Installation and setup
guides.
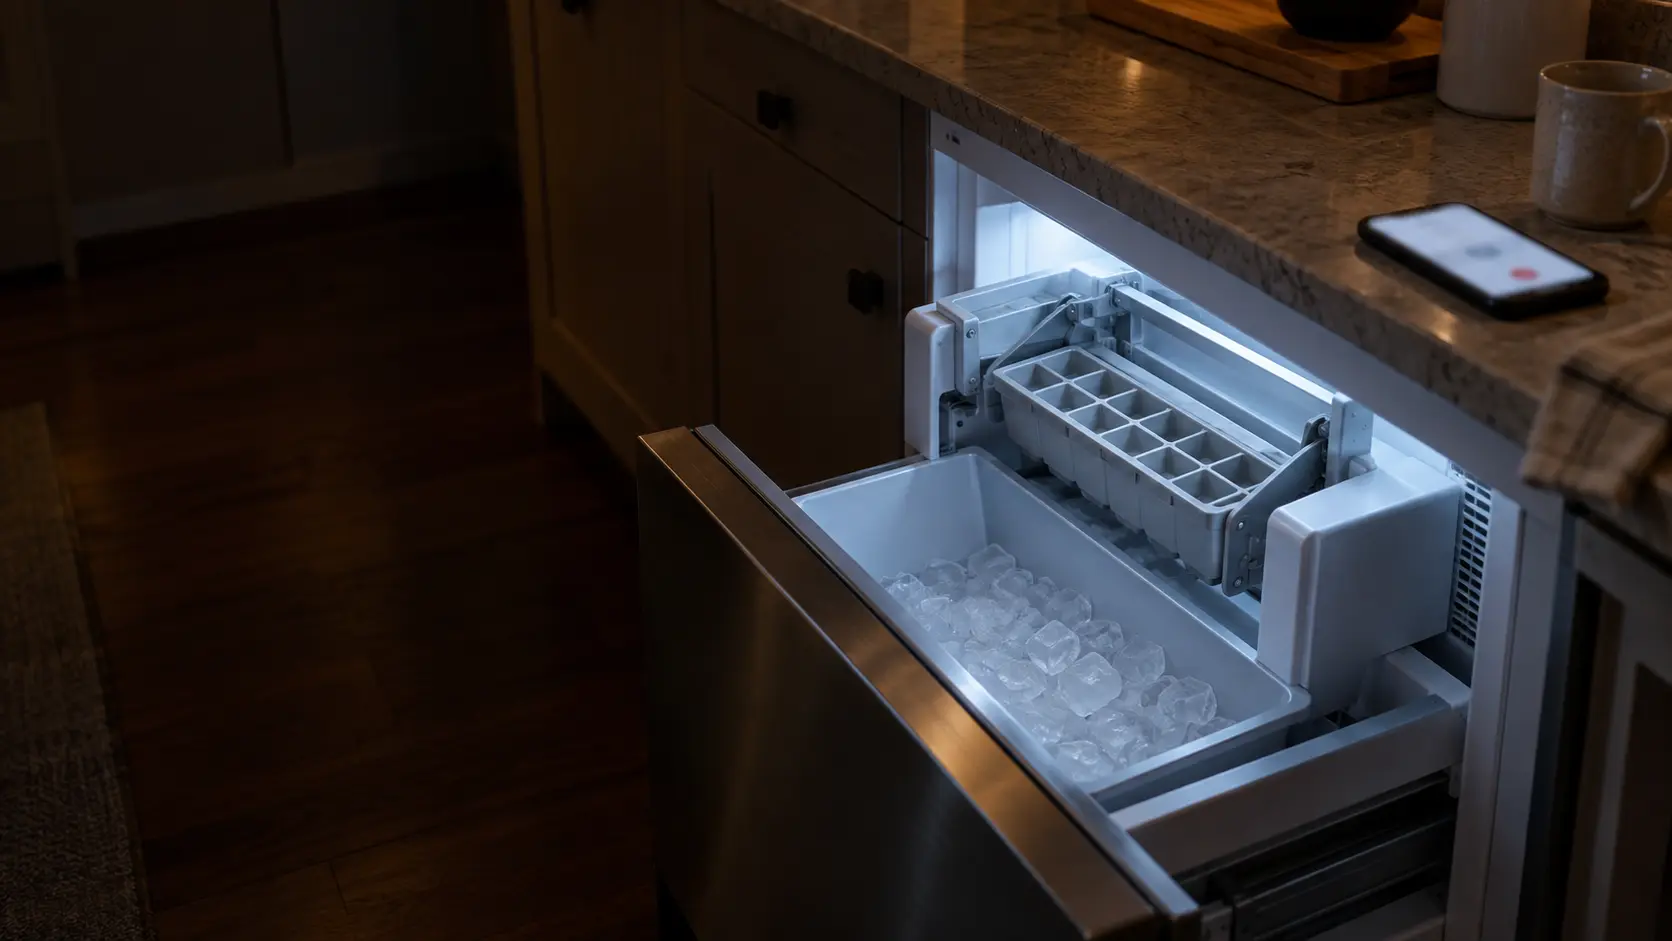
Running a water line to an ice maker, what to expect from the first batches of ice after installation, and how to set up an ice maker in a home that sits empty for weeks at a time.
Mon–Sat, 8am–8pm
- Three guides
- Read before you book
- Says where to stop
Book a visit
Three short steps, about a minute.
or call (844) 773-0701
Loading appointment form…
The appointment form couldn’t load. Please try again.
Installation and setup,
guide by guide.
Most of what decides how an ice maker behaves for the next decade is settled on the day it is connected: the tubing behind it, where the shutoff valve taps into the pipe, the water pressure, how much slack is coiled behind the cabinet and whether the room it lives in ever gets cold. These guides are about that hidden setup, and about the times it matters again.
All 18 guides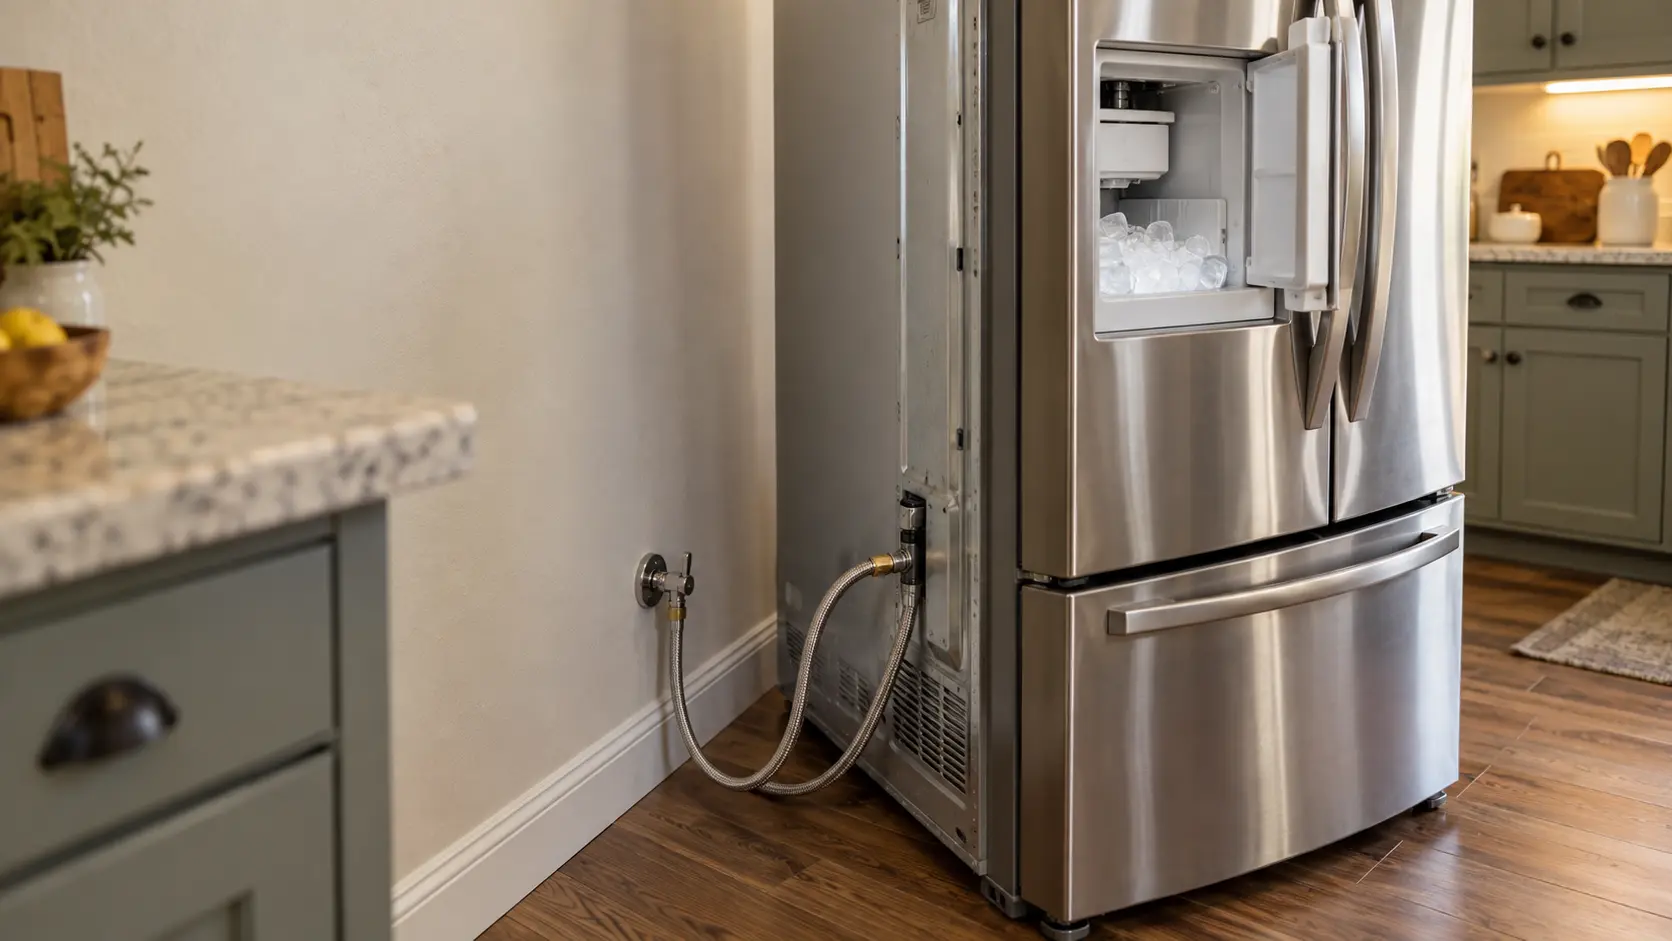
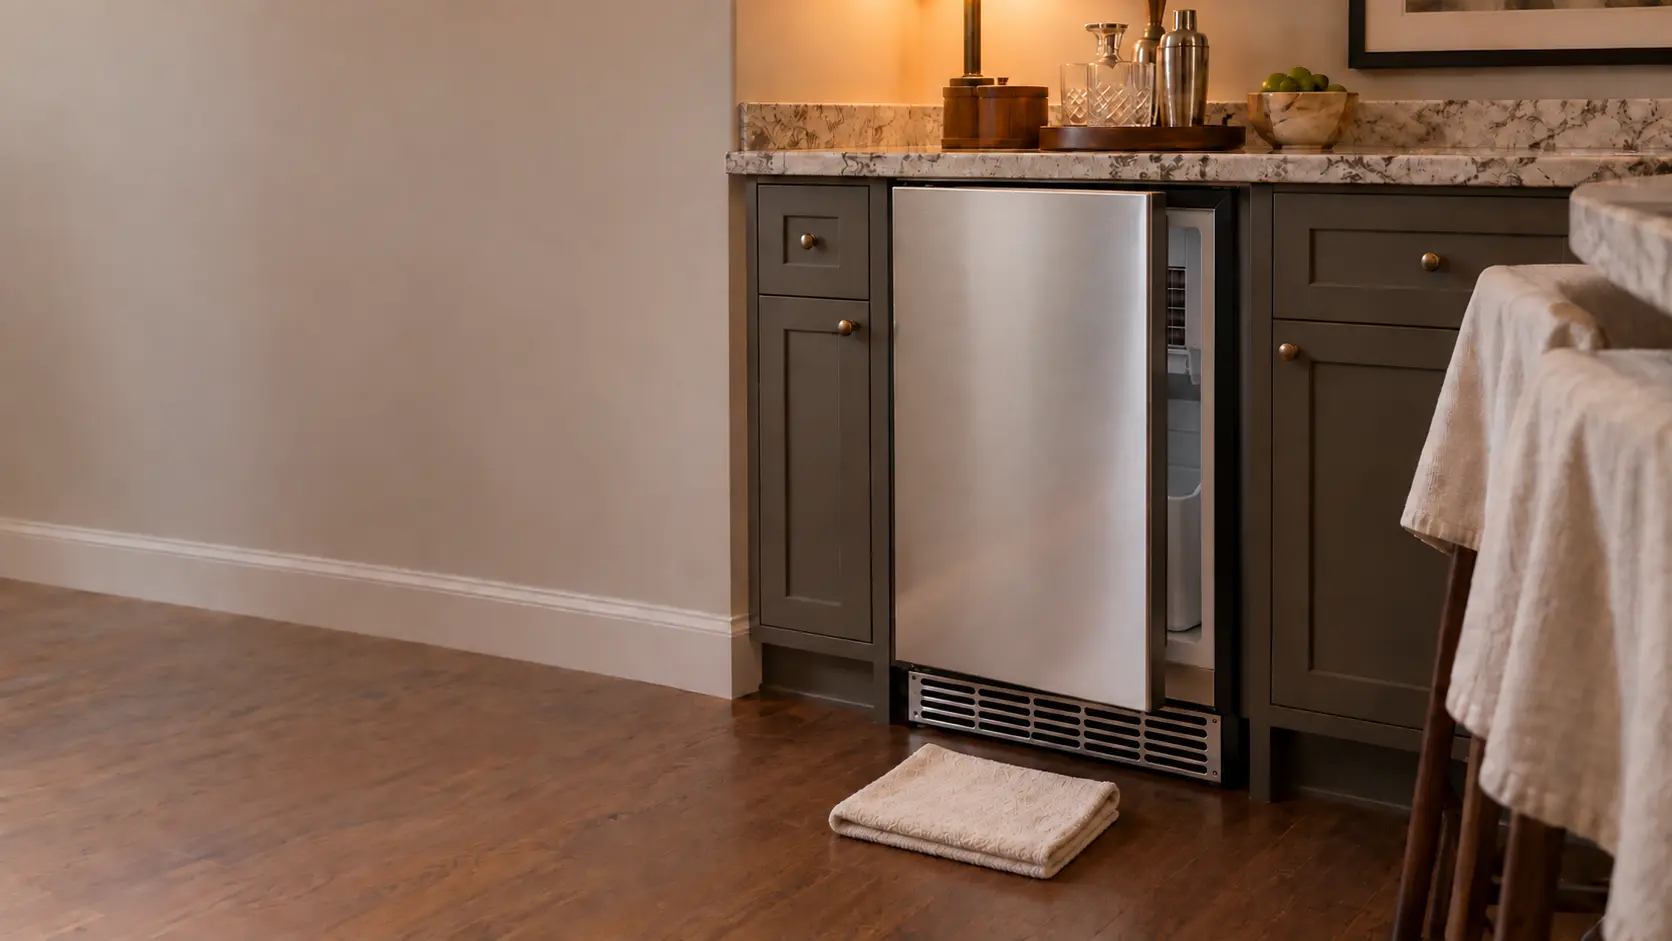
Water lines, first ice and a unit left alone.
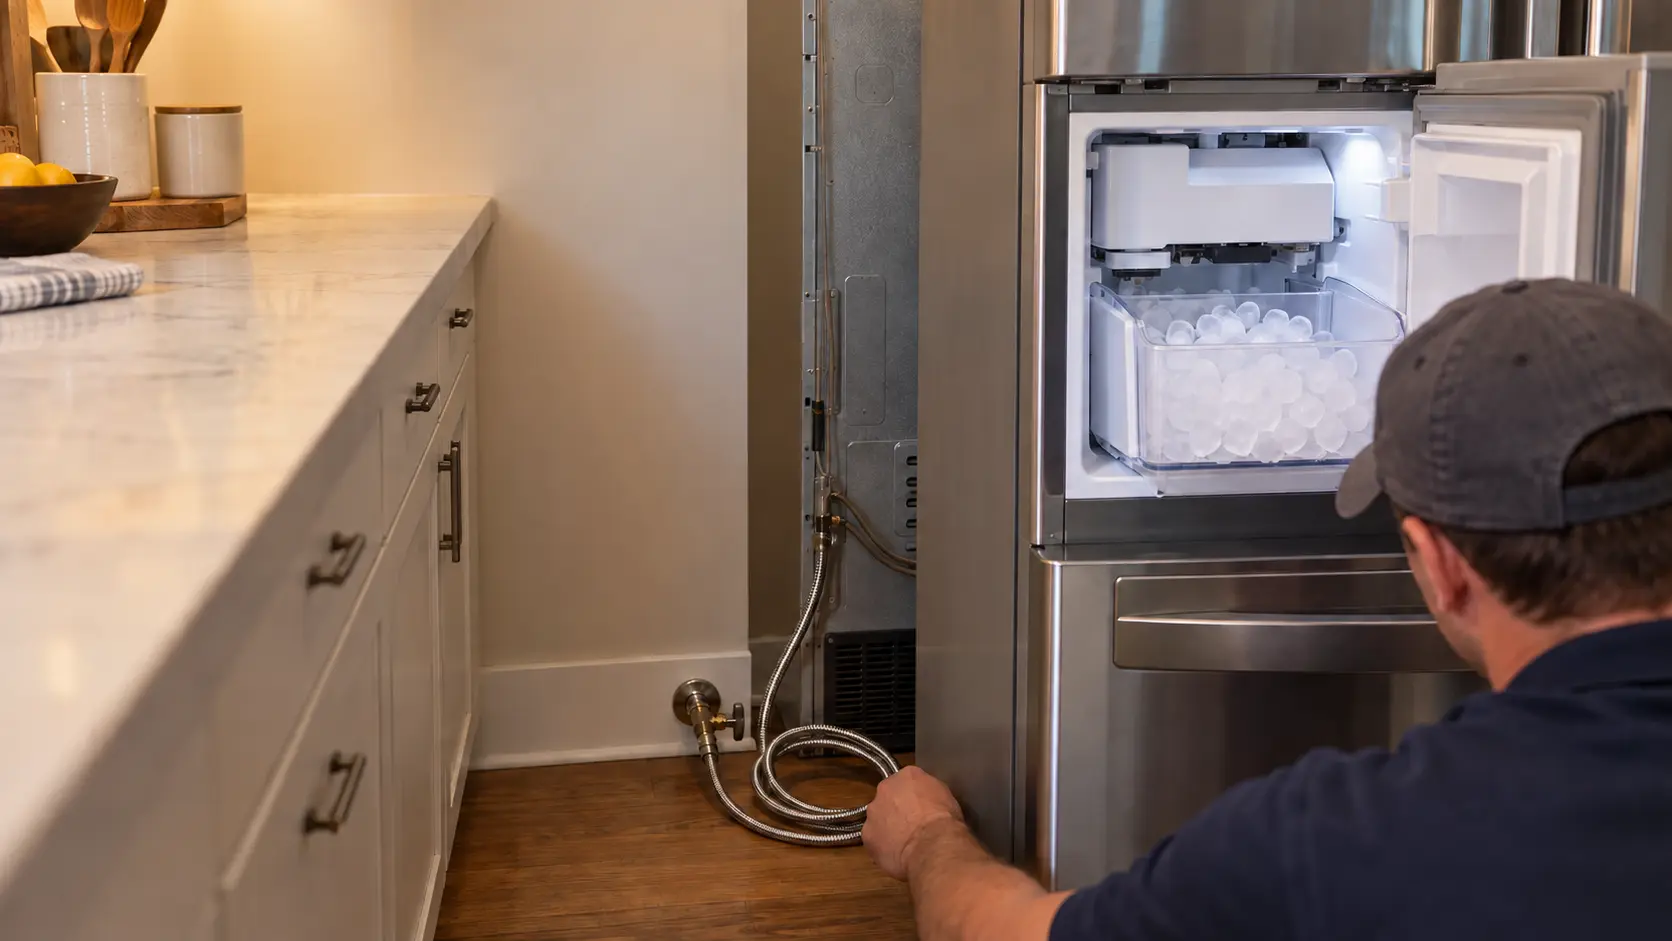
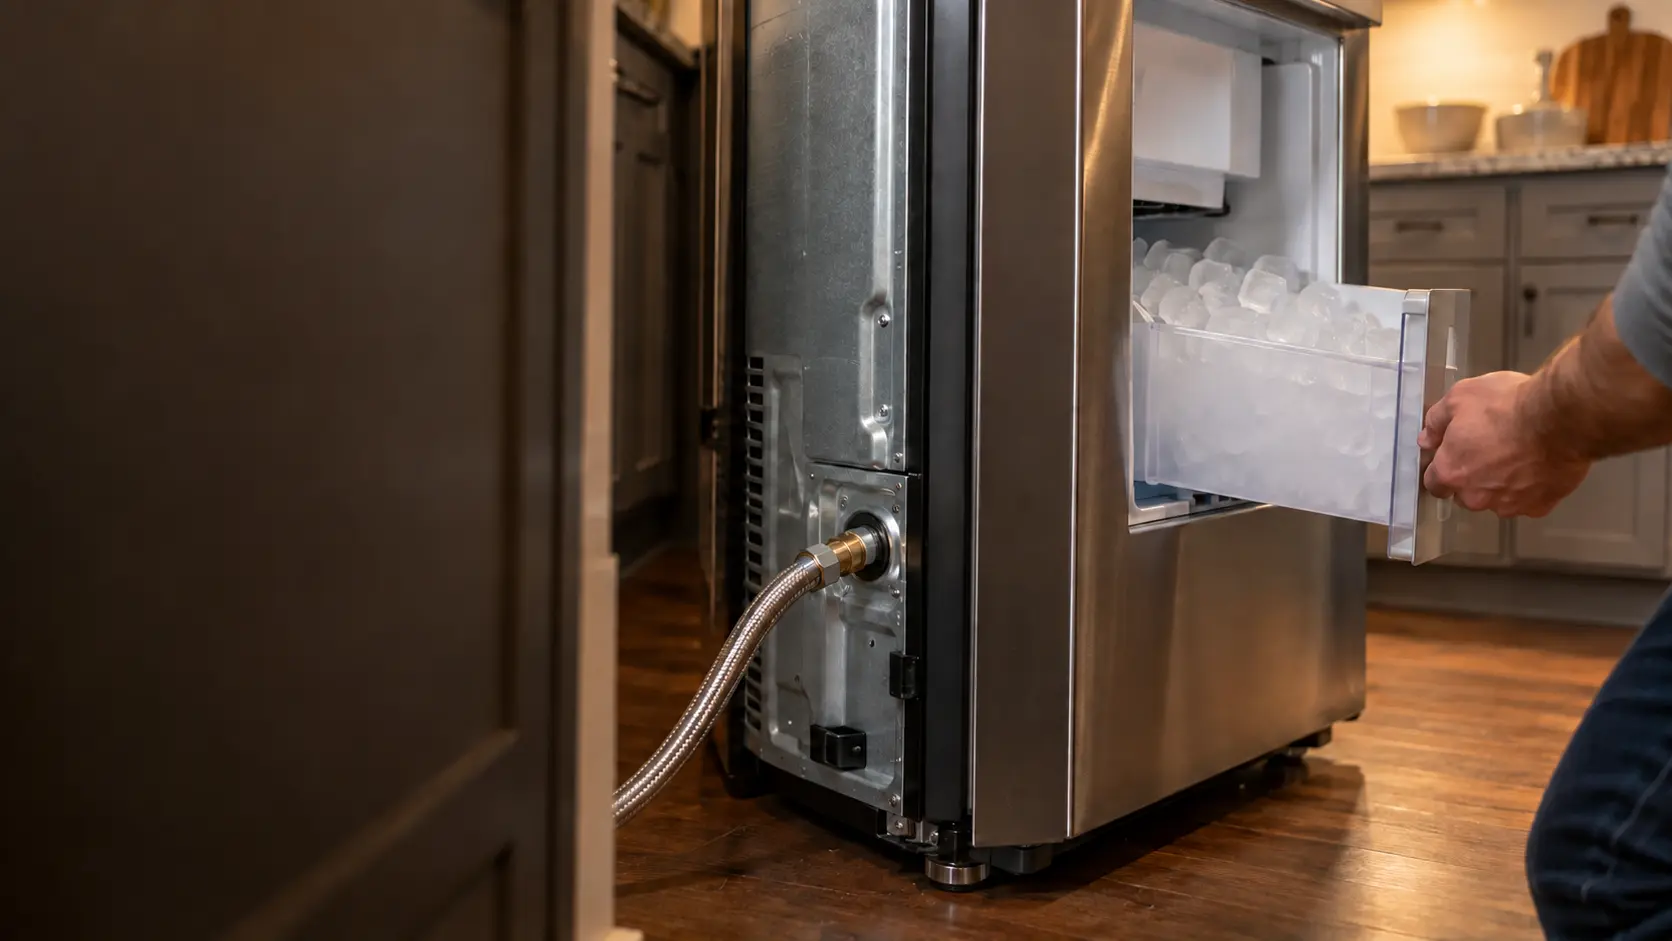
One explains the water line itself, from copper and braided stainless to the plastic tubing that manufacturers warn about. One walks through the first day after installation, when an empty bin is normal for hours on a door or freezer ice maker and the first batches go in the sink. The last covers a vacation home, where a line under pressure with nobody in the house and a winter without heat call for a proper shutdown.
None of them asks you to tap a pipe, cut copper or open an appliance's water system. They show what should be there, what to look at with a flashlight, and when the job belongs to a plumber or our technician. Figures come from GE, U-Line and other makers' installation instructions, printed beside the section they support.
Not sure where to start?The short answerThe Water Line Behind an Ice Maker: Tubing, Valve and Pressure
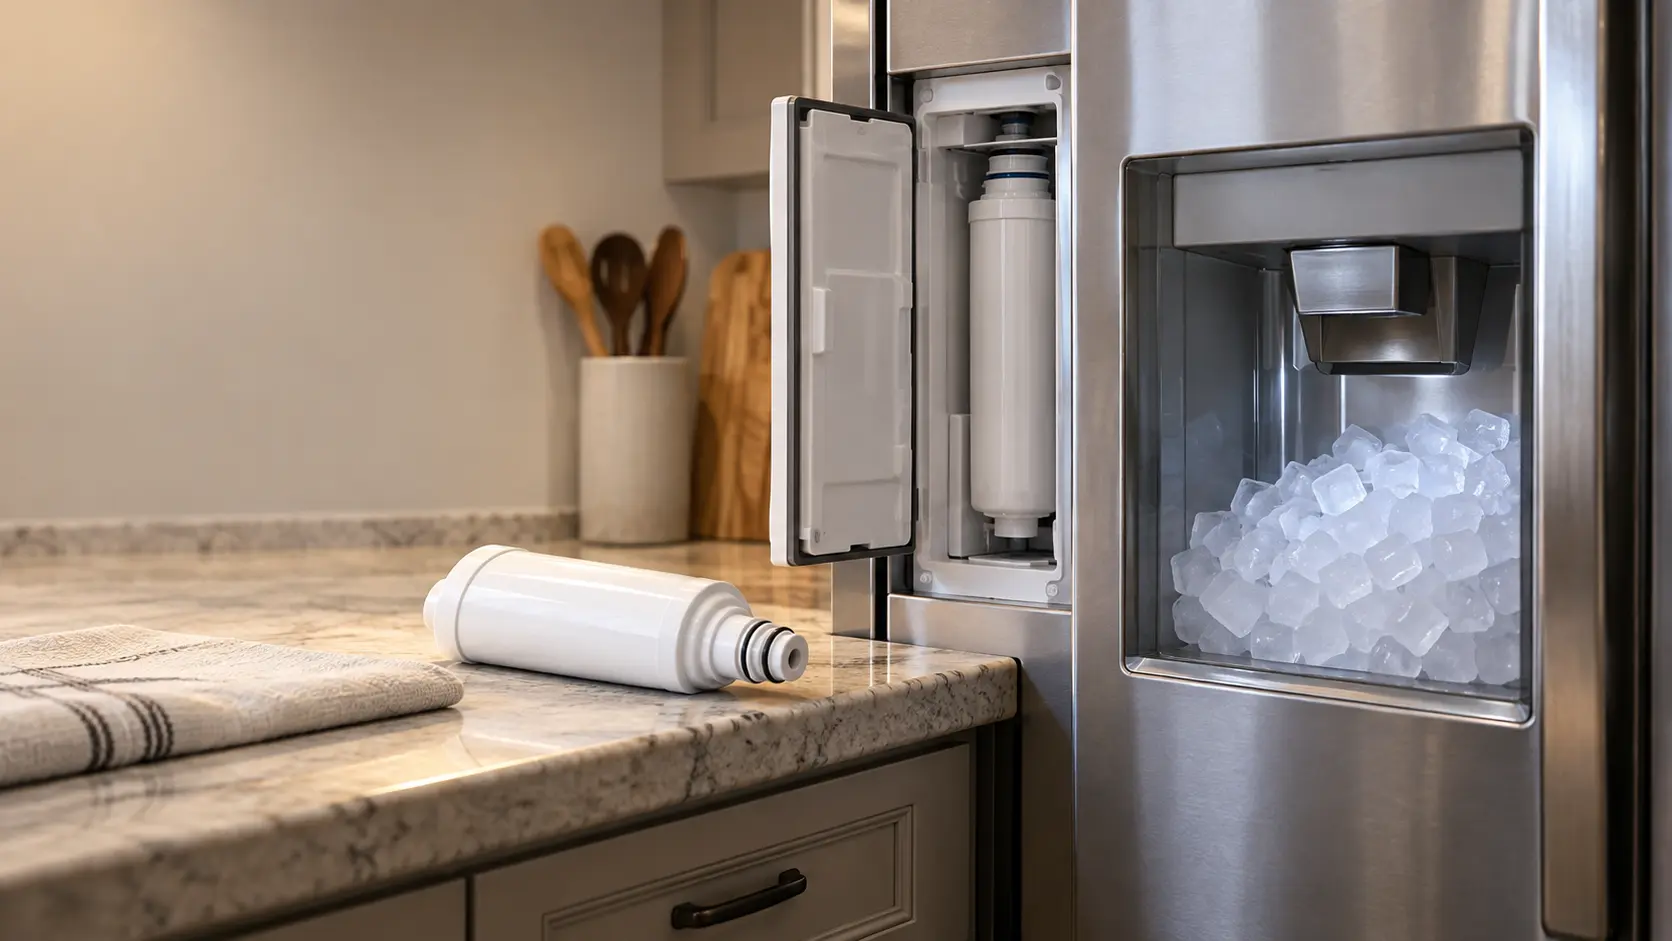
A water line for an ice maker is a quarter-inch cold drinking-water supply with its own shutoff valve, run in copper, braided stainless or the maker's approved tubing, with a coil of slack so the unit can be pulled out.
The short answerFirst Ice After Installation: How Long, What to Throw Away, What to Check
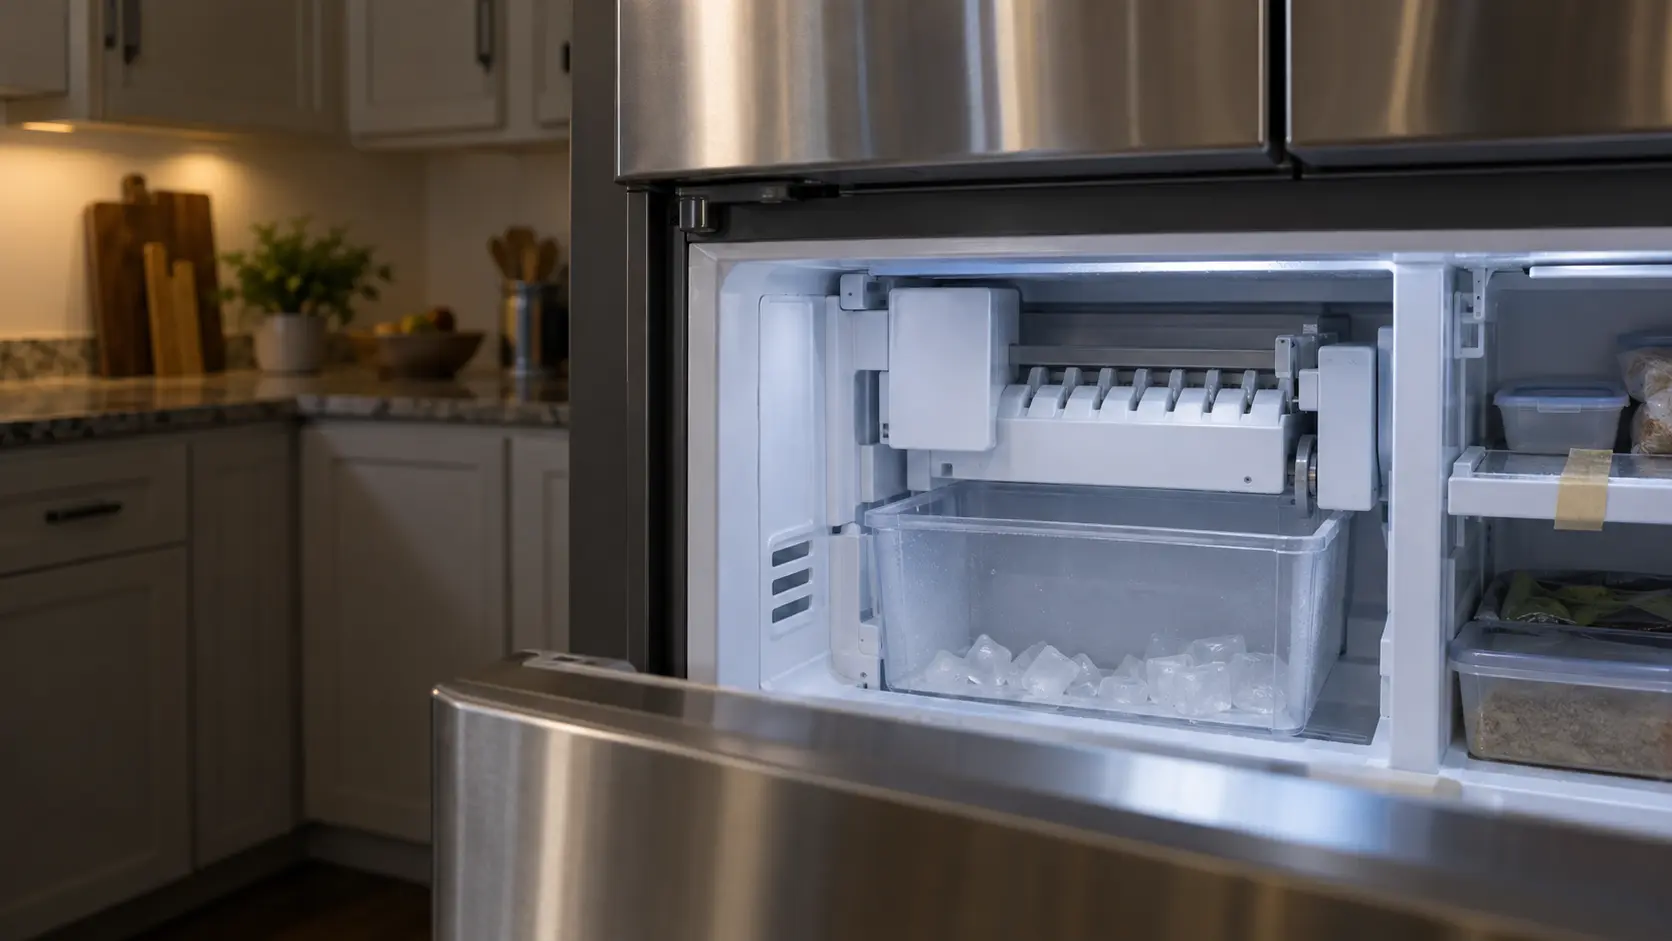
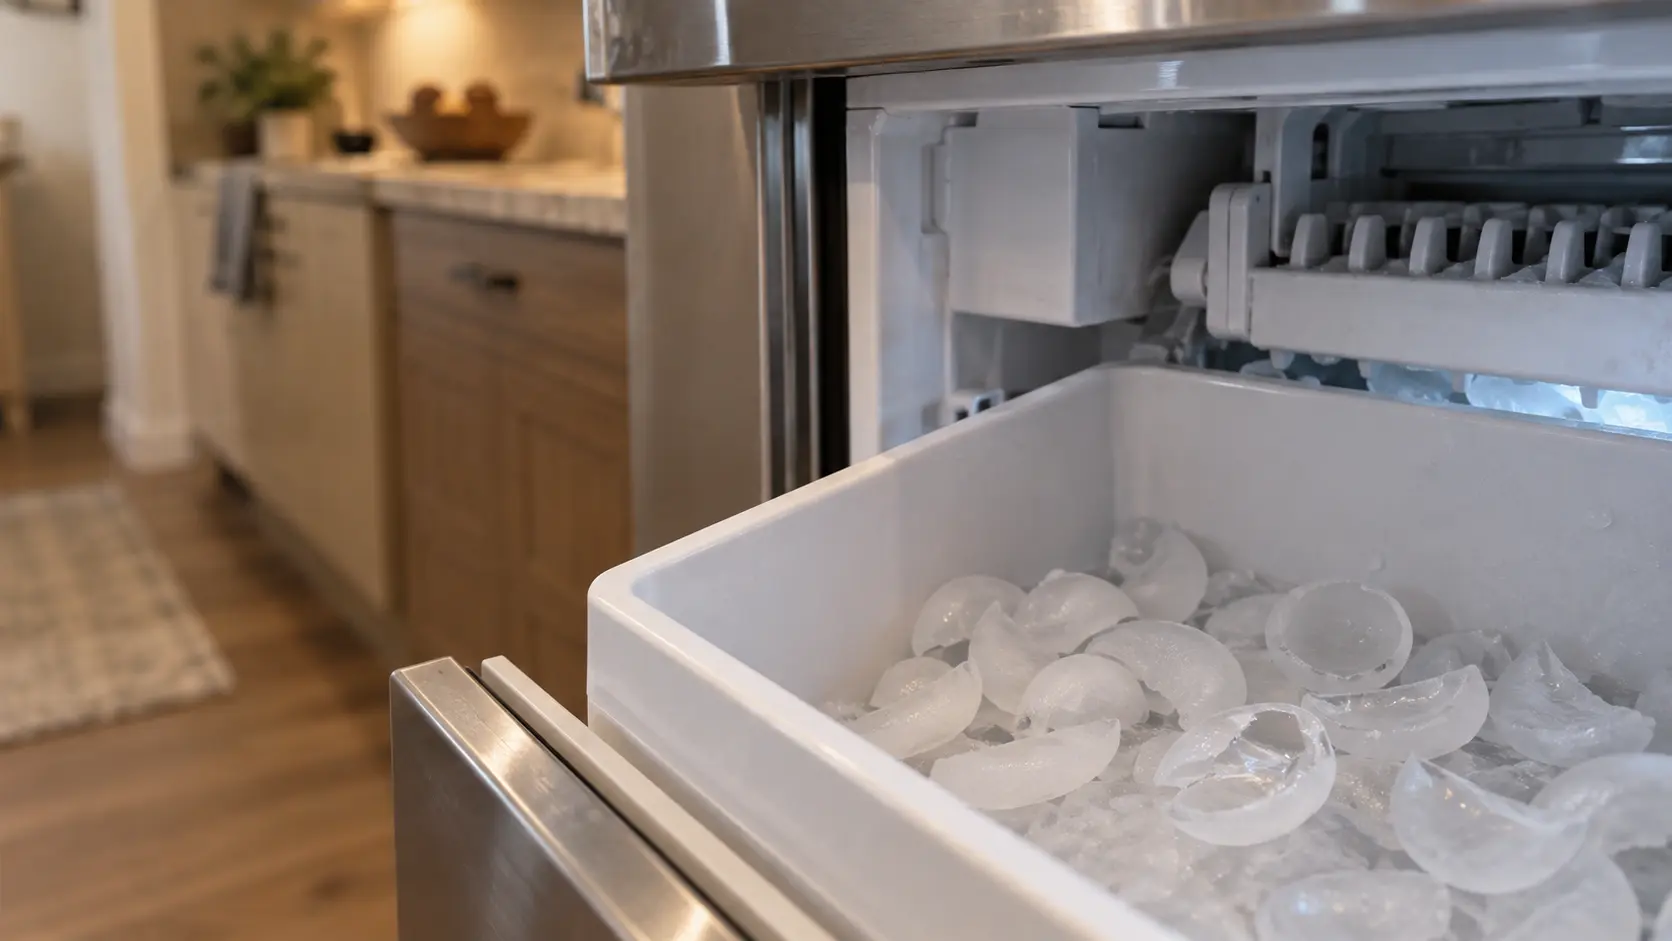
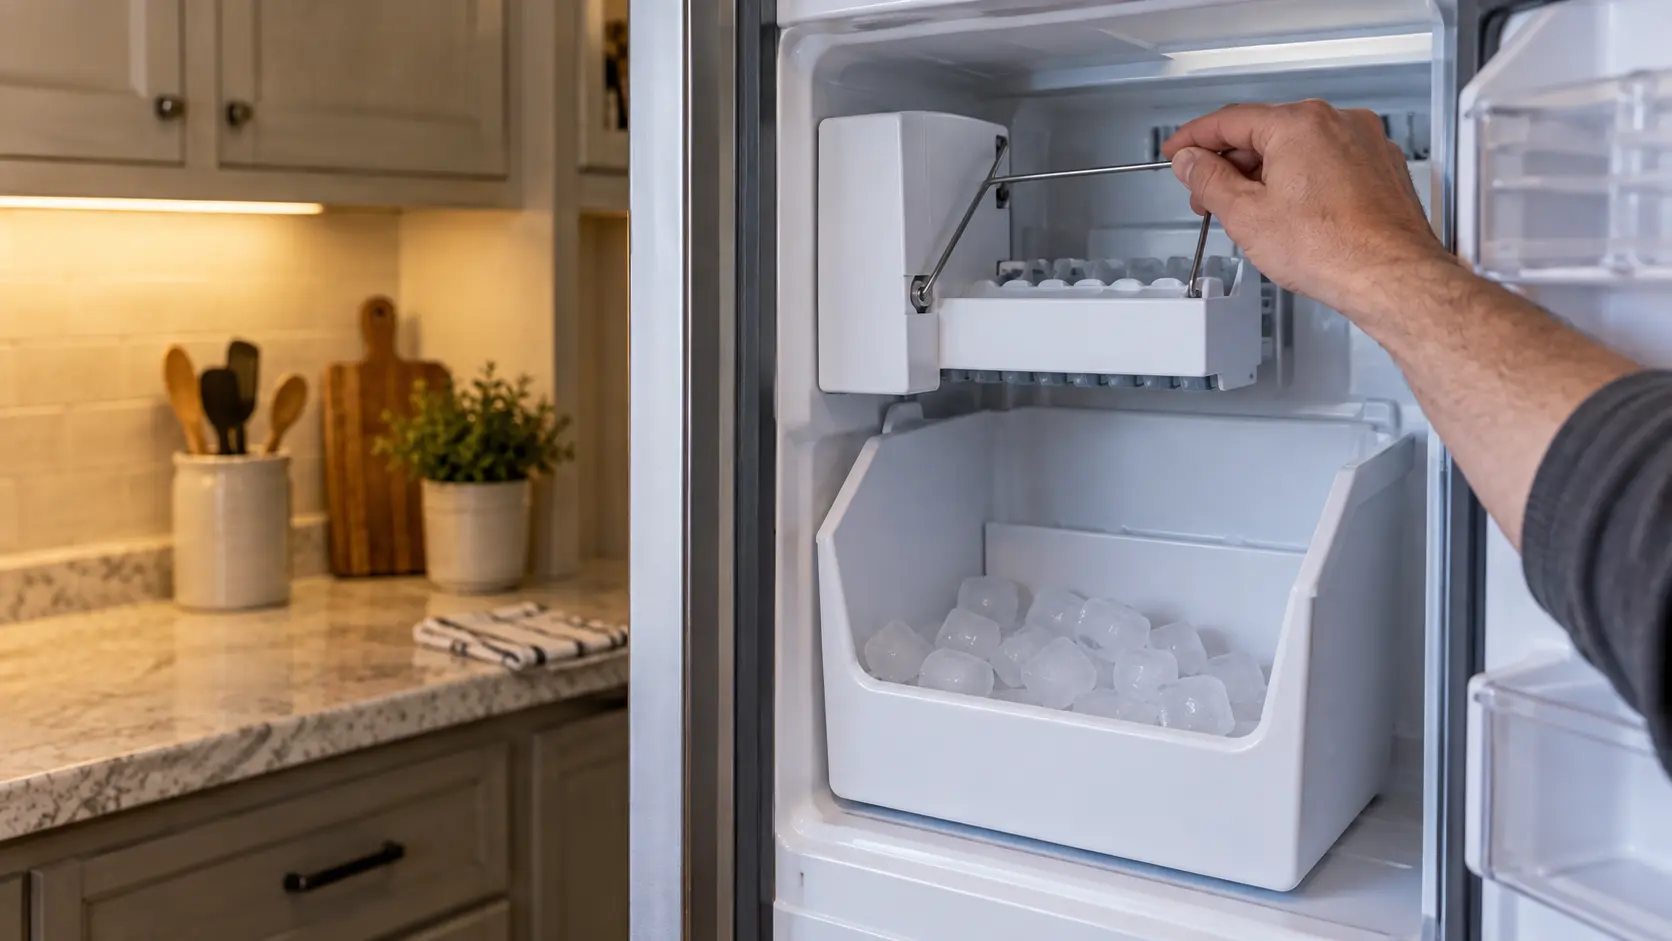
First ice after installation takes 12 to 24 hours on a door or freezer ice maker, according to GE, because the mold must reach about 15°F before it fills.
The short answerAn Ice Maker in a Vacation Home: Closing Up and Opening Again
An ice maker in a vacation home should be turned off, with its water valve shut, whenever the house is left for more than a few days.
When reading
is not enough.
If the checks in these guides did not settle it, the visit picks up from there, stop by stop.
What repairs cost- 01Water traced from the valve to the mold
- 02A number before the work
- 03Everyday ice maker parts already on board
- 04Filled, frozen and dropped in front of you
The problems
these answer.
Each has a page of its own, with the causes in the order worth checking.
All 17 problems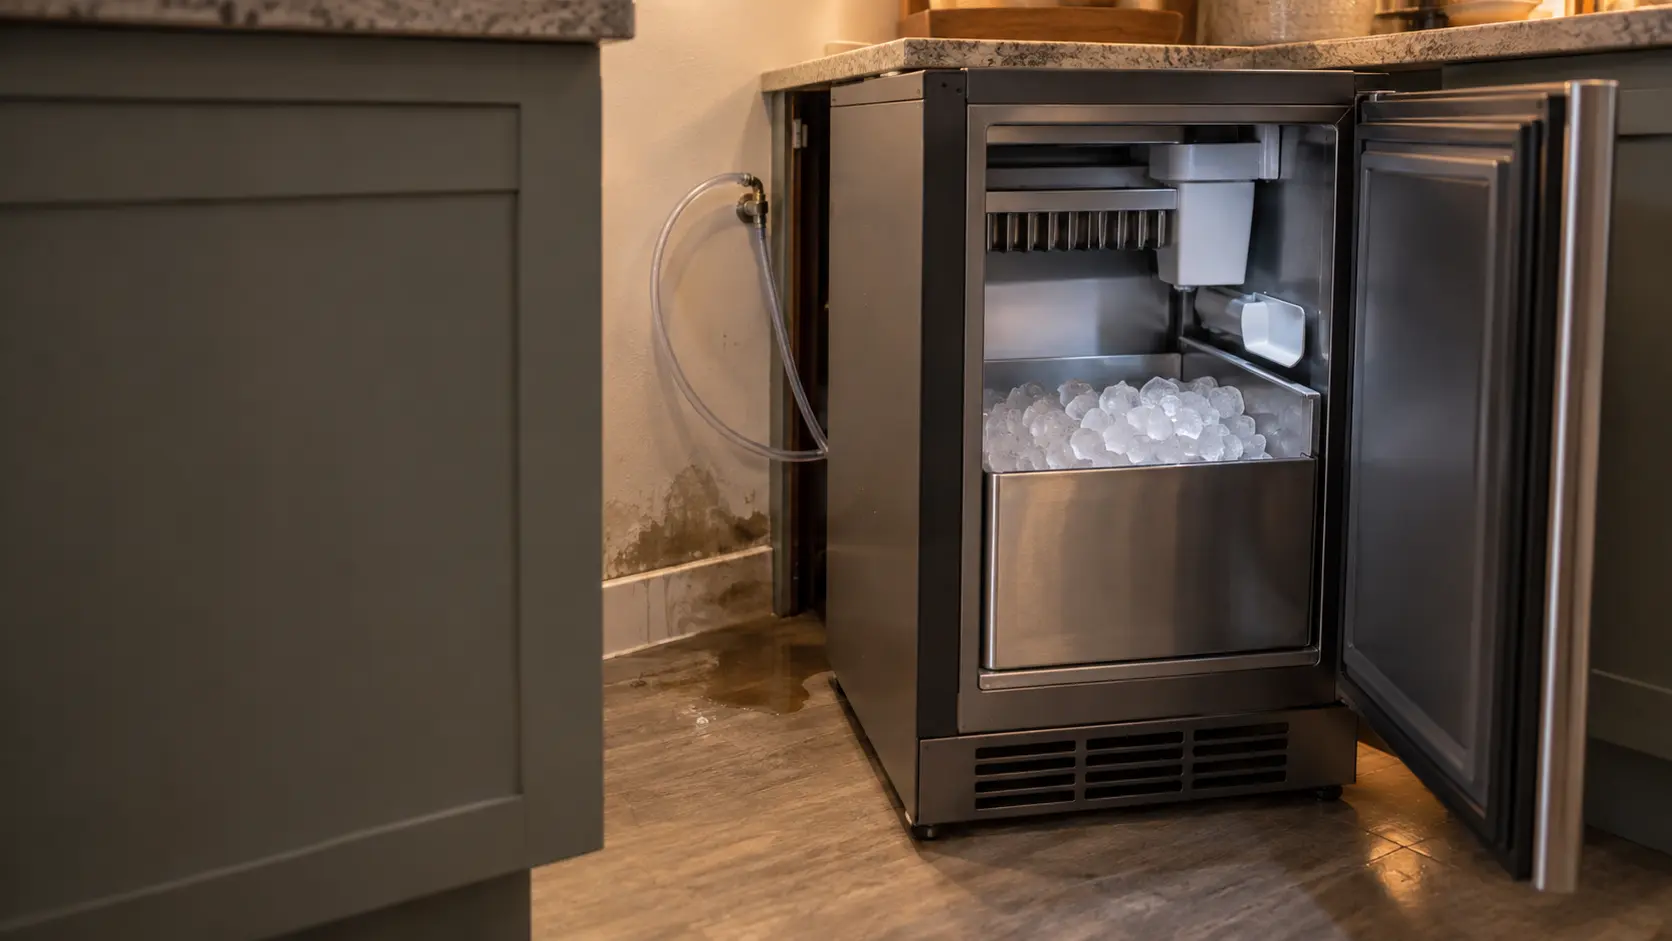

Questions about
installation and setup.
How long after installation should the first ice appear?
What kind of tubing should feed an ice maker?
What should I do with the ice maker when I close a second home for winter?
The other
sections.
Split by what you are trying to find out rather than by which part of the appliance it concerns.
All guides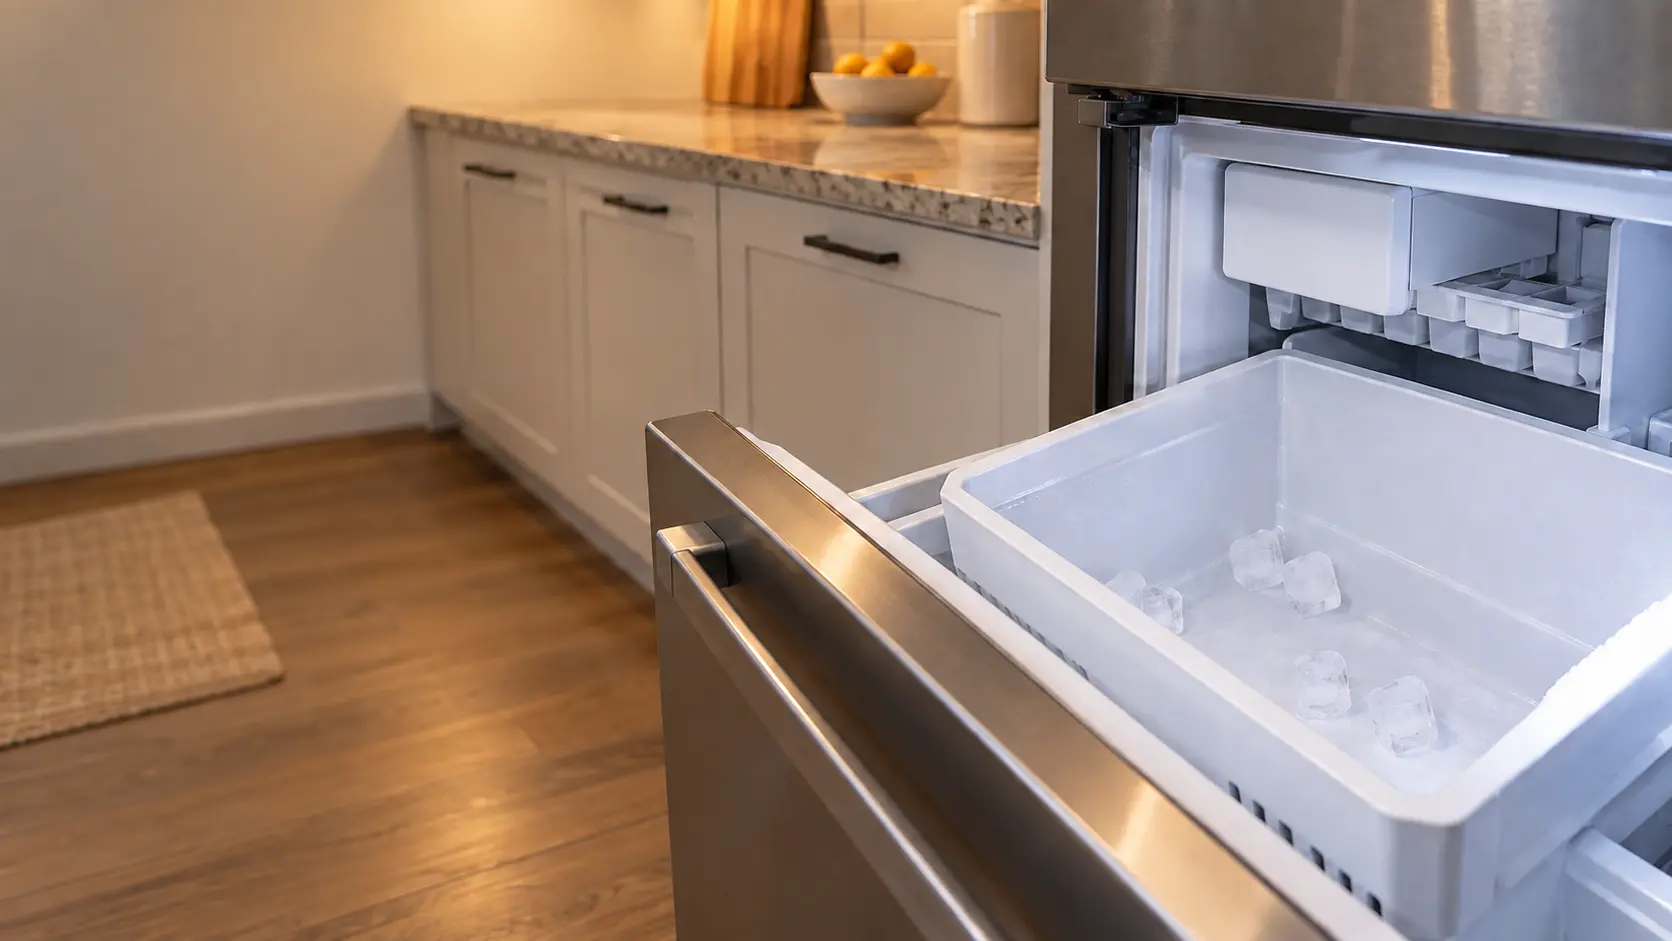
Back to your everyday
Let’s get your ice maker working again.
Three short steps online, or one call. Tell us what you are seeing and pick a window that works.